Wednesday, 9 November 2016

Live Your Dreams - Art Journal Page by Elisa Ablett

Hi Crafter's

Elisa here from the Design Team for Memory Maze Lasercuts,  I am just stopping by to share my next creation with you that featured on the Memory Maze blog last month, a very colourful Art Journal page using some gorgeous Memory Maze Stencils and Chipboard frame and of course some (ok lol maybe lots) of Colour Blast mixed media products.

This Art Journal page started off as a practice page in my Art Journal for the new Tim Holtz Distress Markers and then i  re-purposed the page by adding layer upon layer of Memory Maze stencils and Colour Blast until i had a very vibrant page with depth and texture.


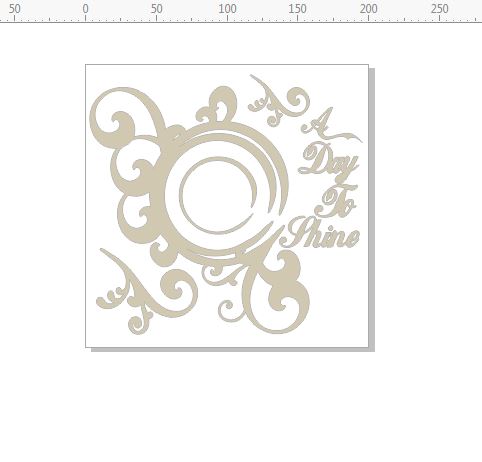
After I added the Colour Blast Shimmer Dusts in Candy, Navy, Lush, Grape and Sunflower (add a small bit of the Dusts and add water) to the right side of the page, i used a circle stencil from Memory Maze with a white sharpie pen on the left side of the page. 

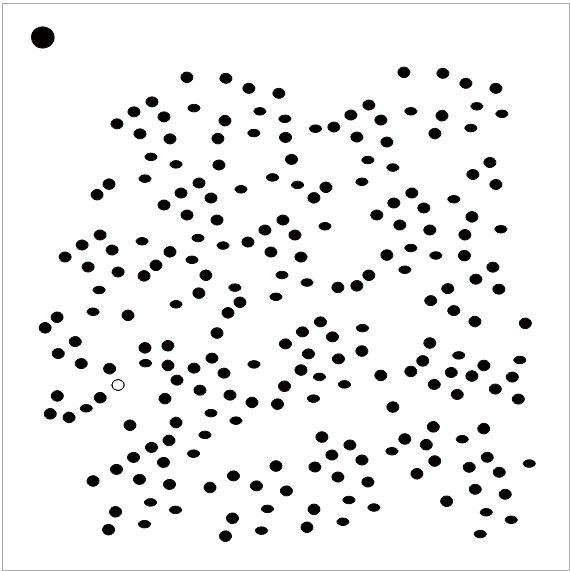
Next step was to add Colour Blast Mica Powder to Prima Crackle Texture paste and spread through a mini bubble stencil from Memory Maze with a palette knife.

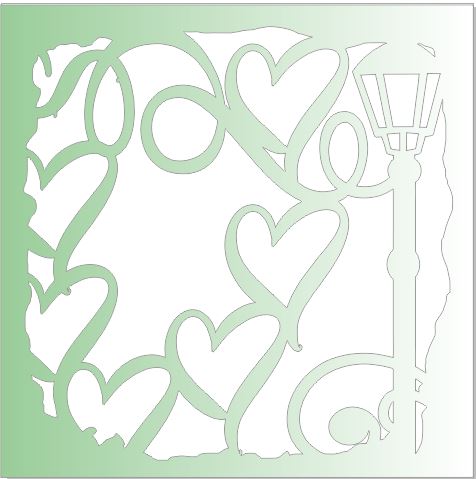
I also used a white sharpie paint pen to trace around a love heart stencil on top of the watered down Colour Blast Shimmer Dust on the right hand side.

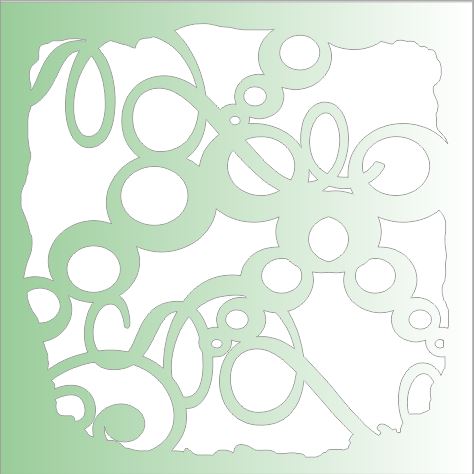
Also spread white texture paste through a chevron stencil with a palette knife and sprinkle the paste while it is wet with Colour Blast Embossing powder and heat with a gun til it bubbles...


With your chipboard frame, colour it with white gesso or a white paint sharpie pen and then add a small amount of Colour Blast Shimmer Dusts to the frame with a paint brush and water. Flick watered down white acrylic paint over the page.


Here are some of the Memory Maze products that i used!!

Stencil,mask or template J001 ALL CIRCLES  110X180   Min buy 3


Oblong Mini frame ornate app 100 x 85


Stencil Grunge 8


Thanks for stopping by the blog today, make sure you head on over to Memory Maze Shop via the link above and check out all the amazing designs.

Make sure you leave some love...

Thanks

Elisa xx


Shine - By Elisa Ablett

Hi Crafters,

Elisa here from the design team for Colour Blast Australia with a mixed media layout I created featuring Midnight Colour Shimmer Dust, Leather Colour Shimmer Spray and Apple of my Eye Colour Paste to name a few!

I wanted to share this tutorial on my personal blog as well to show you a few more mixed media background techniques.

All the Colour Blast products can be found here in the Colour Blast Shop.

I wanted to share with you an interesting technique i thought of using the Shimmer Dust to create a grungy linear background.


To start the layout, I matched the photo (which was an unusual colour) with the different shades of Colour Blast, I ended up adding Leather and Apple of my Eye to the layout as well to achieve the closest match to the photo.


Next step grab a black waterproof pen and a ruler and draw lines as shown below across your page.


Add water to your Midnight Colour Shimmer Dust in an Artist's palette and grab a paintbrush with a nice fine tip. Spray water using a water spray bottle onto your lines and then using a ruler and a nice wet paintbrush (with your activated dust) draw over the top of the lines letting the colour bleed with the water on the page. Wipe the ruler after each pass over the page.


Now while your background dries lets move onto your feathers, spray each feather with a light coat of a combination of Colour Shimmer Sprays and then dry thoroughly. Once the feathers are dry using a sepia toned ink pad and a stamp stamp over the bottom of your feathers like the below photo.


Once the stamping has dried, using a paint brush, screw the lid off your Roadbase Colour Spray and paint the top of your feather and the very bottom tips.


 Next step! while the feathers are drying you can go back to your background and add Colour Shimmer Sprays in LeatherSteel and Apple of My Eye. Also add splatters of each colour in the centre of your layout just above the top and bottom line. Once dry, using some word and texture stamps stamp in both black and sepia colours onto your background.


I also added some circle stamps in black ink and then using a white gel pen, trace around the circles in various places around your layout. 

Once dry, using a palette knife scrap Leather and Apple of My Eye Colour Paste across your chosen stencil on either side of where your photo will sit.


Time to assemble your layout once the Paste has dried. Add some netting under your photo and using 3D mounting tape mount your photo into the middle of your layout. Add your title to the photo and stick it all down.

Time for some close ups of the feathers, stone and shells. Wrap natural twine around the base of feathers and attach twine to your page crossing it over in the middle. Tie your feathers to the stone (which i found on a beach, it had a handy hole already in it) adding your charm. Then glue your shells onto your page at the end.


And here is your finished layout! 


That's it from me today, hope you have enjoyed the tutorial, make sure you leave some love in the comments below!!

Elisa xx


To Come Alive - Art Journal page by Elisa Ablett

Hi Crafter's,

Elisa here from the Memory Maze Design Team again, just sharing a recent blog post on the Memory Maze blog. A colourful Art Journal page featuring some lovely Memory Maze Chipboard and a grunge stencil.

I wanted to achieve a different look with this Art Journal Page with the colour and texture only in the background whilst keeping the gorgeous Chipboard white, clean and simple.


To achieve this look i gesso'd the chipboard pieces white and laid them aside to dry. I have found a wonderful gesso in a spray can and is a life saver!!

I then tore strips from the Newspaper and included a title of To Come Alive which i pieced together from the Newspaper, I then gesso'd over the top of the newspaper to provide a bit of texture.

Then i used Colour Blast Shimmer Dusts and a splatter technique, splatter drips and drops of the gorgeous shimmer dusts which you have diluted with a small amount of water all over the areas in which your chipboard will sit.

I then splattered Bling Colourblast Shimmer Spray as well. I stamped several texture stamps and flower stamps over the top of the colour and then using a palette knife i spread Bling Colourblast Texture Paste over a Memory Maze Stencil.

Here are some close ups :-) 


Here are some of the gorgeous products i used from http://memorymaze.com/


Butterfly lady 8x8


Dots and stuff  poly template  8x8 sold in 3\'s

Colour Shimmer Dust - Peacock


Thanks for stopping by the Blog today :-) 


Elisa xx


Start each day with a Grateful Heart by Elisa Ablett

Hi Crafters,

Elisa here with a very bright layout i created for the Memory Maze Lasercuts blog featuring a gorgeous Memorymaze Chipboard and stencils.

I wanted to create a very vibrant ink and watercolour background to match the colours in my instagram photo. This layout features one of my favourite photos which is of myself on my regular early morning walk along our local beach with my girl, Lila. We have recently lost our beloved dog who was my regular walking companion. She loved walking the beach with me every morning greeting all who came along and happy to on the receiving end of loads of pats and cuddles. The title of my layout is 'Start each day with a grateful heart'.

To achieve the look - Gesso your chipboard piece and put aside.
Using watercolours and inks create your background and then stencil over the top in gorgeous Gold (Bling) Colour Blast Paste. Then Stencil over that with Shimmer Sprays using the Grunge stencil.

Add splats of watered down gesso and then using the 'ray' stencil trace the inside of the stencil from the middle of your layout. Add your extra embellishments once all dry.

I have added also a cool product which you can DIY colour, it is called Pink Paislee - Artisan Elements - Circles. You can customize each circle with your own colour!


Here are some close ups for you to see some of the finer details, from here you can see the gorgeous Daler Rowney Inks and Colour Blast Bling Texture Paste and Colour Blast Colour Shimmer Sprays which i used to create the vibrant background.


Here are some of the gorgeous products from Memory Maze that i used to complete this layout...

A day to shine circle flourish frame  200 x 200min buy 3 .


Mini Stencils  micro dots   100 x 100mm  min buy 5 priced as eac


Stencil Grunge 10

Stencil,mask or template J019 SPIDERLIKE   110X180   Min buy 3


Thanks for stopping by the Blog today :-) 

Elisa xx


Sunday, 6 November 2016

Kraft Plus - November Challenge - Be Inspired by Elisa Ablett


Hi Crafters,


How fast is the year going?? I think i just blinked and we are here in November!!

What a fantastic challenge over at our favourite Kraft Challenge blog for this month, to be inspired by something from your closet!

I loved this challenge, such a clever idea as really your mind could run in so many crafty directions.

I immediately thought of my favourite shirt, the colours that feature heavily in my closet and patterns that i like. I found a photo of myself in my favourite Kaftan shirt as well to go on the layout. Years from now when my fav shirt is worn to shreds it will be lovely to look back on my layout.


Here is the Challenge link below along with the Challenge itself! 


AND

Here is the layout i was inspired to create, 
featuring hand dyed calico, hand stamped and painted patterns on calico.

I was inspired by the feel of fabric, the fabric colours and patterns from my favourite kaftan shirt, gorgeous teals, turquoises, blues and greens. Also after a good long hard look in my closet i realised i have a load of shirts and dresses featuring those colours and also featuring bohemian style patterns etc.


I really love how the fabric idea on my page turned out, the colours and flower pattern are all me and i am inspired everyday by those colours - cool, calming and creative....

Thanks for stopping by the blog today, make sure you leave some love :-) 

Elisa xx


Wednesday, 28 September 2016

Kraft Plus Challenges - August Tassel Challenge

Hi Kraft fans, 

Yes yes i know i am running a little late with posting a few layouts but i am slowly catching up !

Here is my layout designed as part of the Kraft Plus Design Team for the awesome August Challenge - Tassel Time

Here is the link to the Challenge and the inspiring projects from the Design Team and Guests.


This is my take on the challenge, the layout features a recycled bracelet and earring set full of tassels and a boho inspired background hand stamped with an antique indian wooden fabric stamping block and Acrylic Inks by Daler-Rowney and Colour Blast Texture Paste and Sprays.


Thanks for stopping by the blog, make sure you head over to the Kraft Plus Blog to check out the amazing projects and challenges.

Elisa xx

Thursday, 15 September 2016

'How I roll' by Elisa Ablett


Hi Crafters,

I know, I know, i haven't blogged in a while, naughty me. 

I will definitely catch up one day but until then here is one of my latest layouts which i created for Funky Flair Studios

Featuring two of their awesome flair buttons and also loads of Colour Blast products including Colour Blast Saffron Colour Spray, Colour Blast Roadbase Colour Spray, Colour Blast Sunshine Shimmer Spray, Colour Blast Lemon Zing Mica Powder.


Here are some close up's of the details.


That's all from me today, make sure you head on over and check out Funky Flair's and Colour Blast for some awesome Australian Scrapbooking products.

Elisa xx

'Frosty' by Elisa Ablett

  Hi Crafters, Elisa here from the design team for Ink Art Designs with the first of my 'Christmas in July' projects. For this proje...