Showing posts with label Paper Rose Studio. Show all posts

Monday, 30 November 2020

'Happy Birthday' Mandala Card - Paper Rose Studio


Hi Everyone,

Elisa here from the design team for Paper Rose Studio with my latest creation, a glittery mandala card featuring the new Black and Gold paper collection and Mandala cutting die.

Everyone loves a little bling or glitter for their birthday and this card was so easy to make and looks super classy.

I absolutely adore Mandalas of any kind and add that to some pretty paper and we have a winning combination.


The Black and Gold paper pack features a lovely number of prints and patterns but I loved the old rustic look of the wood and rusted screws in this paper to add a little extra to my card.

Firstly, I cut a black mandala and second one out of Rose Gold Glitter paper, if you rotate them just a little bit you see the lovely layering that can be accomplished with the layering Mandala Cutting Die. Add a border of Glitter Paper in Rose Gold and a sentiment from the Big Black and White Sentiment Range and we have a simple yet classy modern looking Card.


Products used:


Thanks for stopping by the blog today.

Hugs 

Elisa x


Saturday, 21 November 2020

'Life is about happy moments' Card for Paper Rose Studio

Hi Crafters,

Just sharing my latest project for Paper Rose Studio.

A quick and easy watercolour flower card using a stencil!

To start you need to use a round paintbrush and watercolour you want to use and add the inner colour of the flowers onto your page. Once dry, place your stencil over the top and using a fine black waterproof marker, trace around the inside of your stencil to create outlined flowers over the top of your watercolour. Don't forget to add some final touches using paint pens or copic markers, such as solid stems and leaves, gold stamens and pollen and a great title from Paper Rose's collection of pre-printed sentiments. Easy Peasy! and a great technique that will look different each and every time.

I mounted my watercolour card onto a black and white striped background paper to make the colours pop even more and I love how it turned out.


Paper Rose Studio Products and Links:-

Black and White Paper Pack A5

Big Black and White Sentiment Sheets

Folk Flowers Stencil


 Thanks for stopping by today.

Hugs 

Elisa 


Friday, 13 November 2020

WOW! Embossing Powder and Paper Rose Studio Blog Hop with Elisa Ablett


Hello Crafters and welcome to the WOW! Embossing Powder New Release giveaway Hop! 

My name is Elisa and I am here with you as part of the Paper Rose Studio design team.

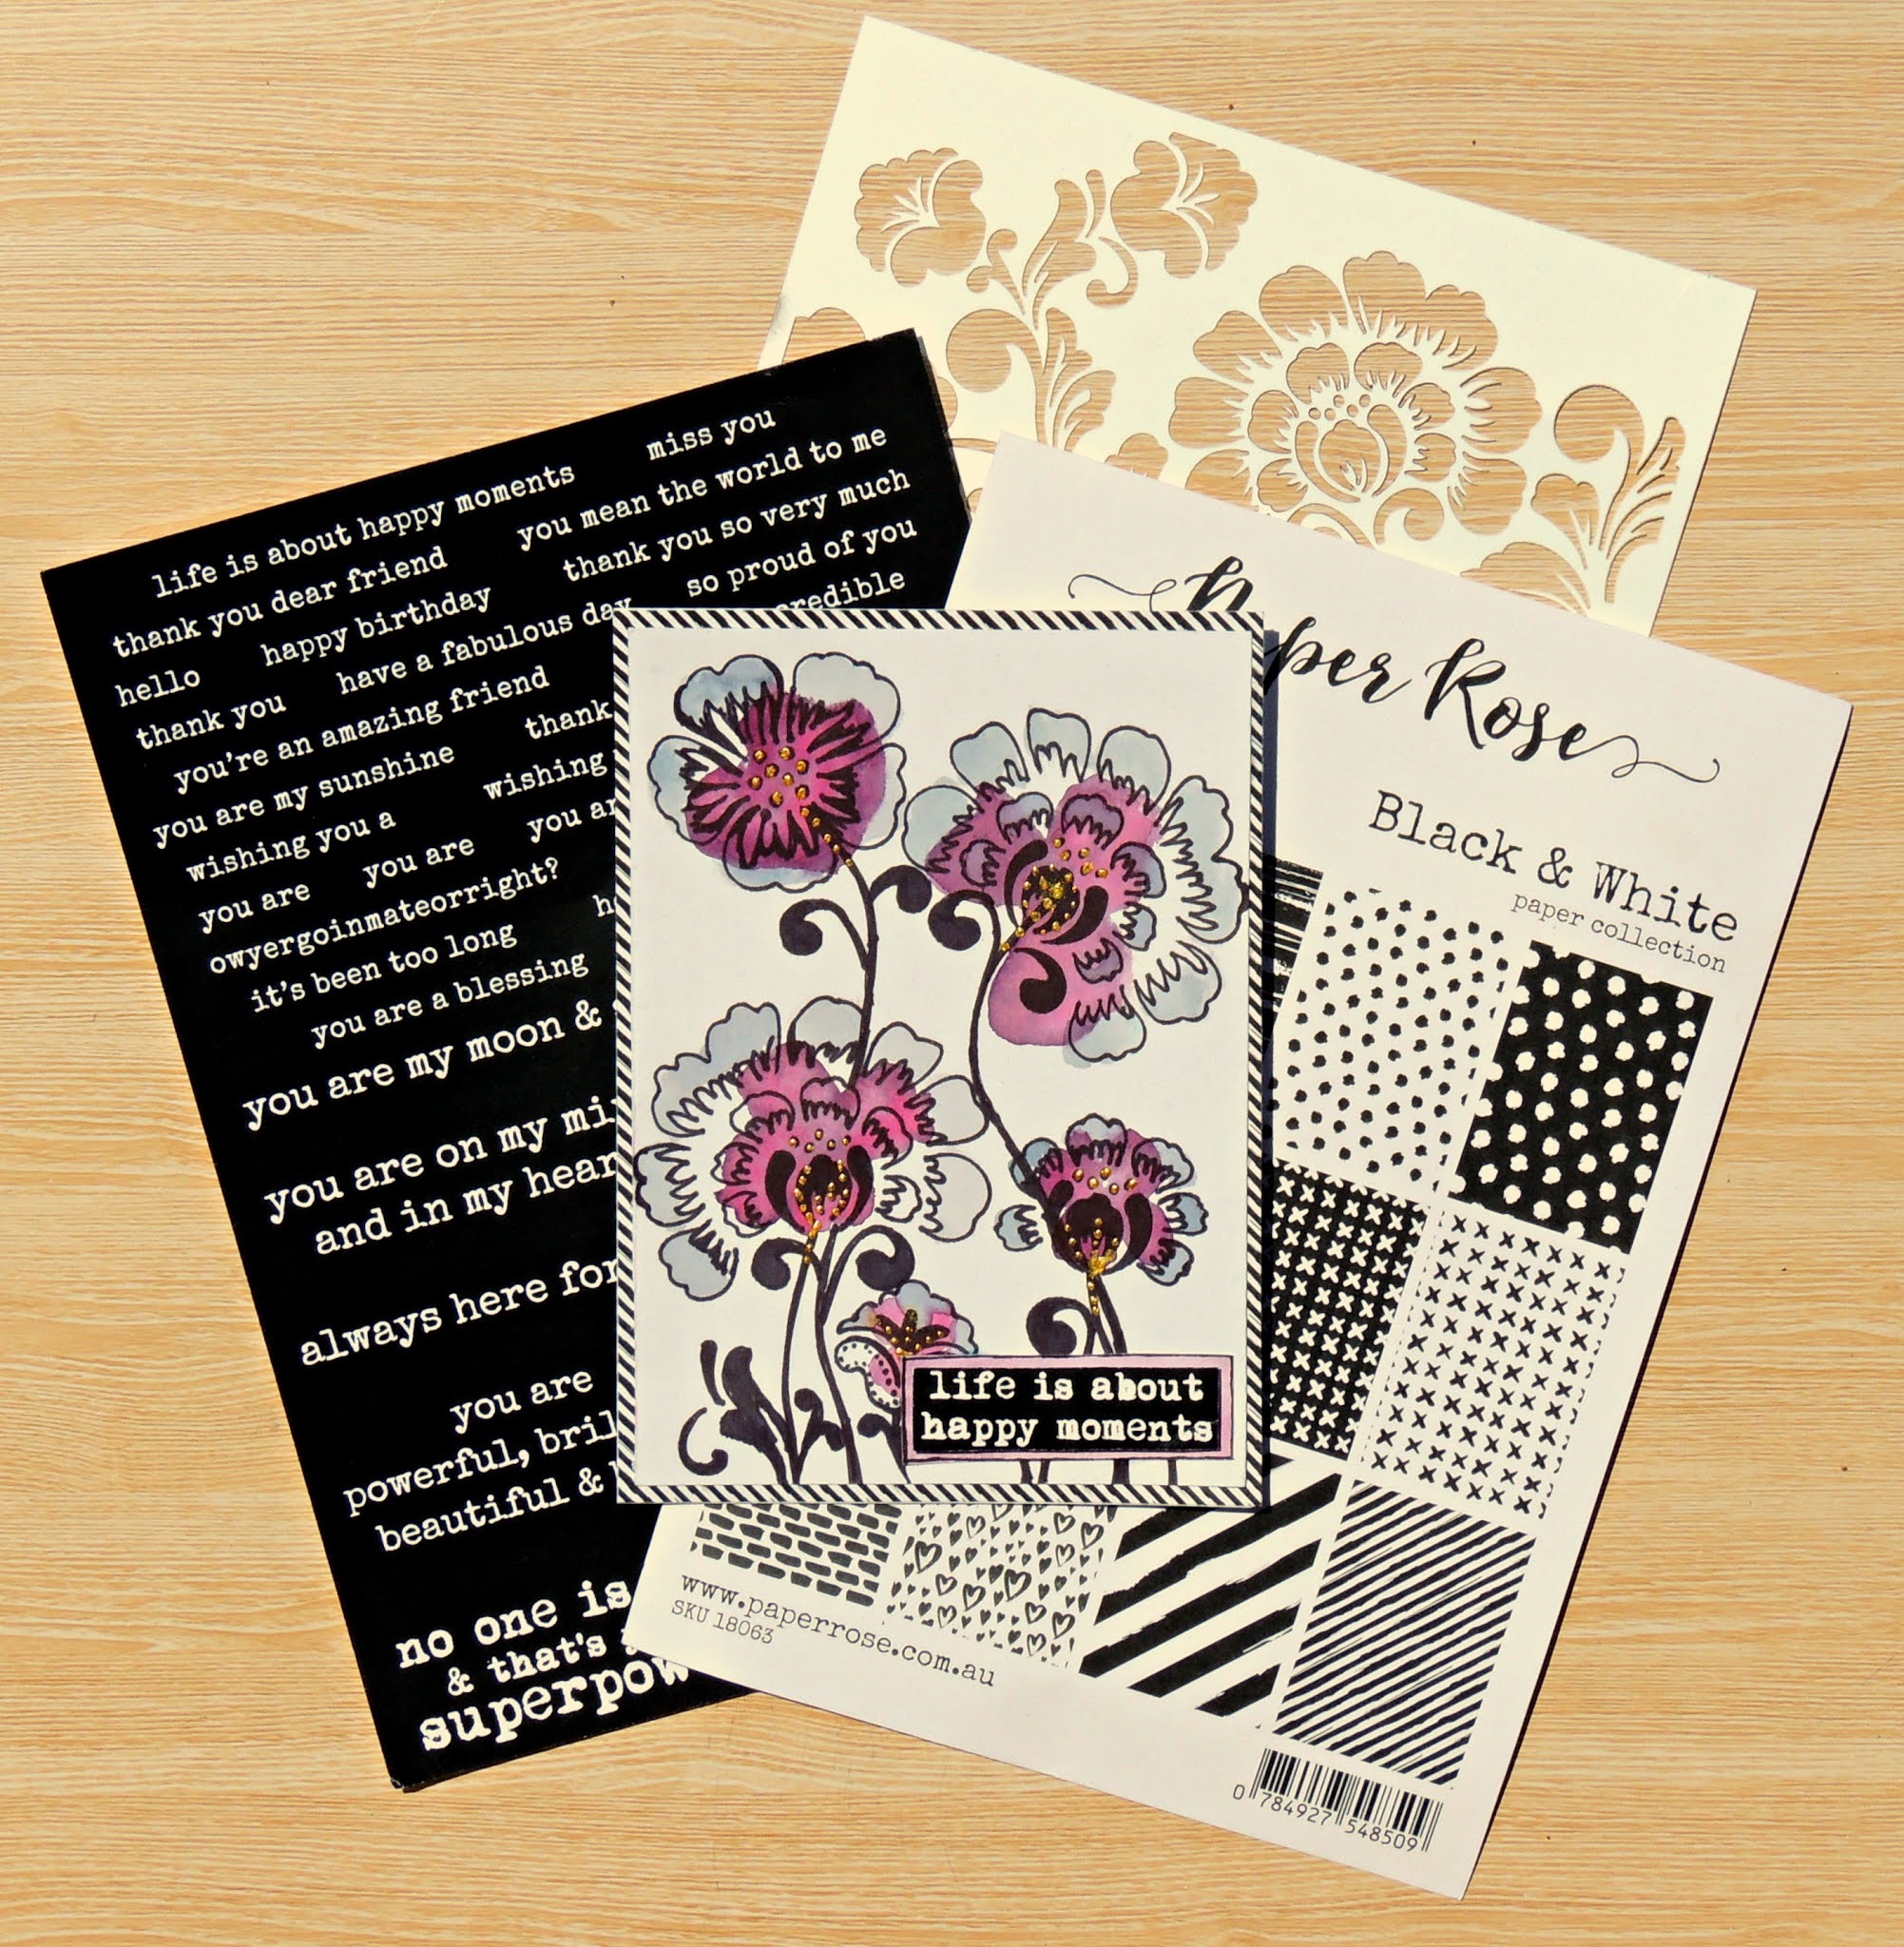
We are all so excited to show case to you all our beautiful projects created with products from WOW! Embossing Powder and Paper Rose Studio including some new release goodies.

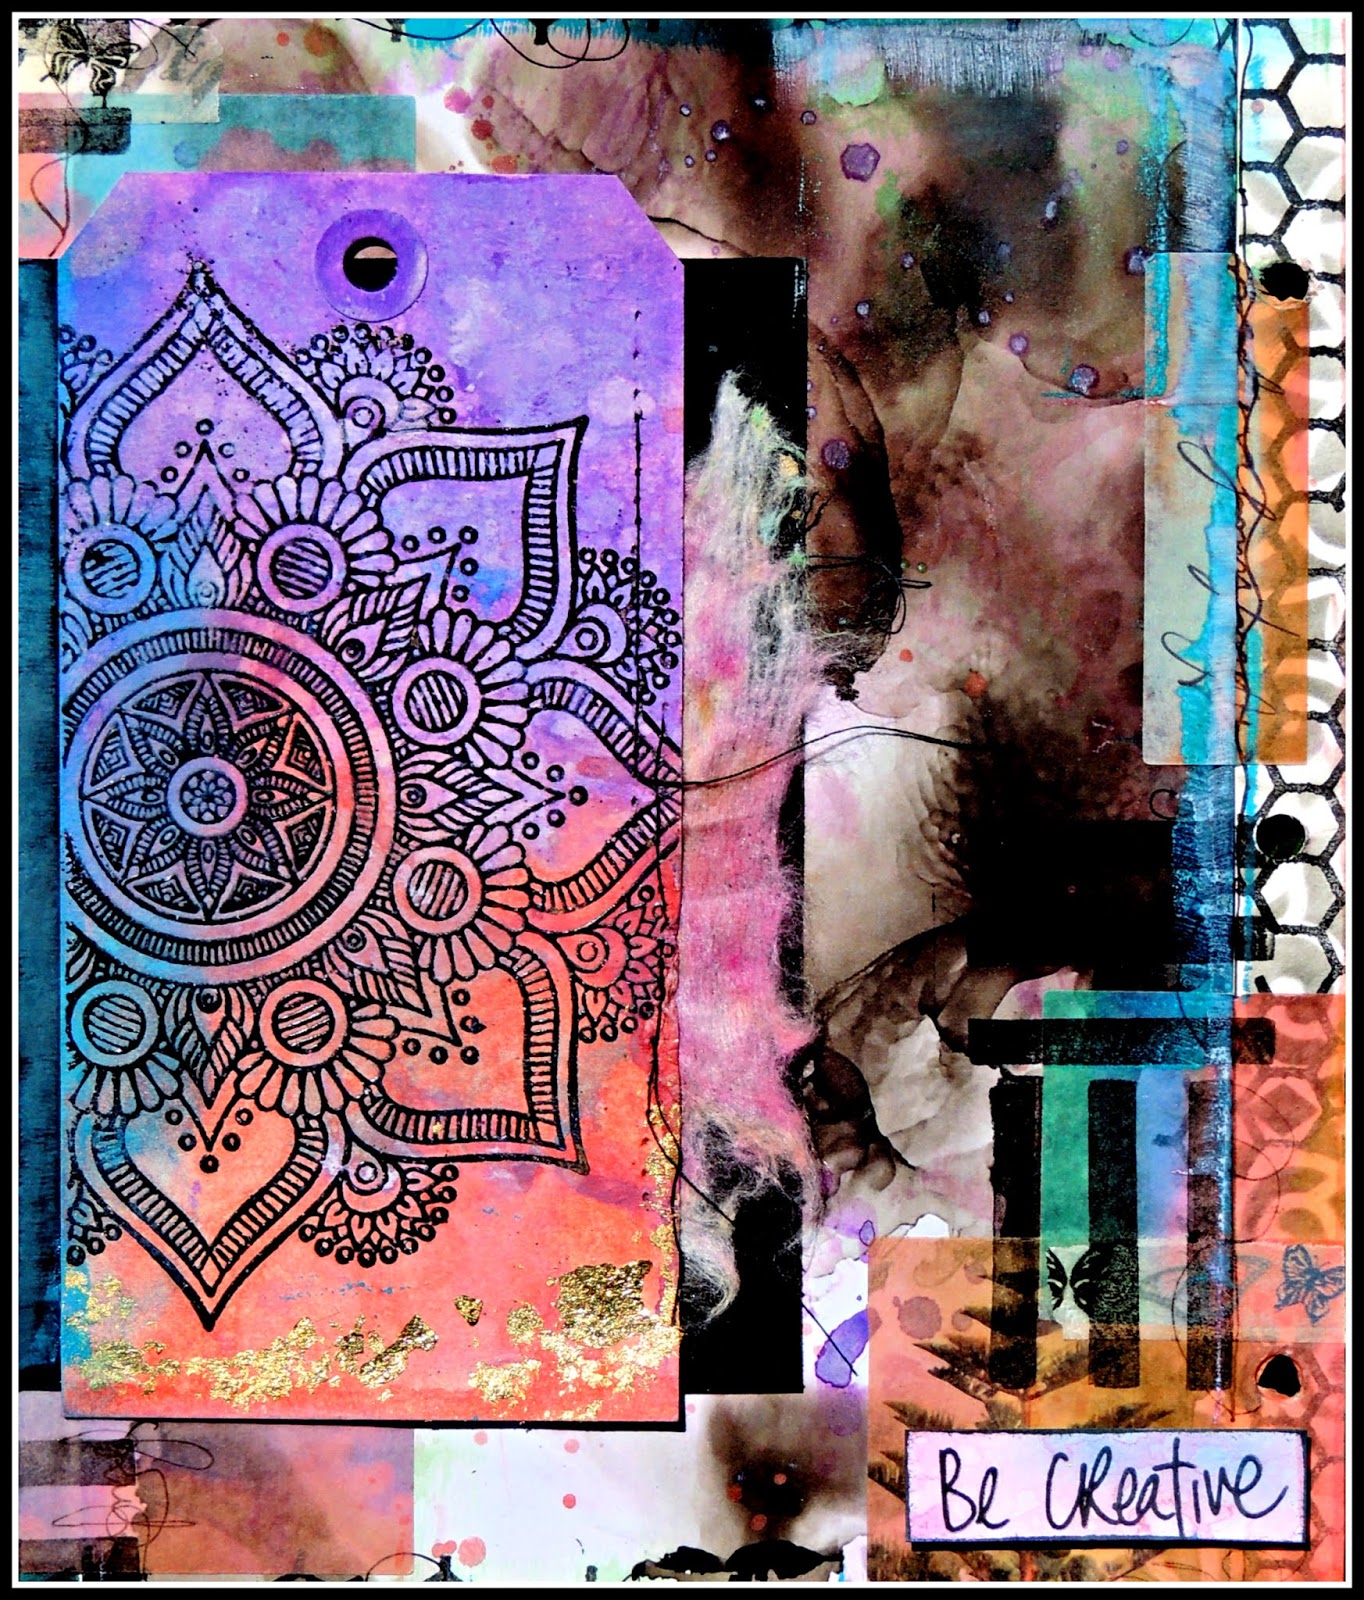
I decided to be a little different and create a grungy boy scrapbooking page and I went a little crazy with techniques using the Embossing Powder. So stay with me here and I will take you through 
HOW TO GET MORE OUT OF YOUR EMBOSSING POWDERS!


FIRST TECHNIQUE - Embossing Powder over black modelling paste through a stencil!

Use the sticking power of modelling paste or texture paste to use with your embossing powder through a stencil. I used the Hud Stencil from Paper Rose along with Black Puff WP02 (o) from WOW!


SECOND TECHNIQUE - Embossing Powder with Distress Oxides on Die Cuts

Die Cut cogs and other shapes from Paper Rose Metal Dies, colour with Distress Oxides and while they are wet sprinkle your Embossing Powder over the top and heat emboss immediately. You get a delicious grungy textured look to your die cuts. I used Paper Rose Cogs and Textured background dies along with WOW! Embossing Powder - One Hundred and One WL32UH (OM)


THIRD TECHNIQUE - Cover everythinnnnng with embossing powder! just kidding, I covered Chipboard, matt board, and enamel dots.

Use a liquid embossing liquid to cover large items and tricky ones like enamel dots and chipboard. I used One Hundred and One embossing powder again because the finish is just amazing!


FOURTH TECHNIQUE - Rusting Technique - Cover Die Cuts with Black Puff embossing powder and use Metallic Waxes to rust your die cuts 

Die Cut your cogs from Paper Rose Cog Dies, emboss with Black Puff Embossing Powder, once they have been heat embossed and have dried completely. Then using your finger or cotton bud rub different coloured waxes gently over your embossed die cuts, I used Red Amber, Fire Ruby and Copper.


ONE MORE TECHNIQUE - Use a ruler or straight edge palette knife and black modelling paste to create lines and then heat emboss directly onto your page!

Create the lines by adding modelling paste onto a craft messy mat and splicing your palette knife or steel ruler through the paste and tap onto your page to create grungy lines. Sprinkle your embossing powder over the top of the still wet modelling paste and heat emboss. 

Here are some close ups of the scrapbooking page: --


I appreciate that you chose to stop by! Please make sure you leave a comment on each hop for your chance to win one of our $25 Gift Card from both WOW! Embossing Powder and Paper Rose Studio shops by Wednesday November 18th, this is open INTERNATIONALLY!

The Winners will be chosen at random from the comments left on ALL THE BLOG POSTS.
To join this GIVEAWAY you must leave a comment on each blog post to have a chance at getting your hands on the prizes.
This hop is open internationally.

Thank you so much for joining the celebration today!


YOUR NEXT STOP IS WITH THE TALENTED MELISSA GOODMAN

and here is the link you have to follow!

(https://melsartjourney.blogspot.com/2020/11/paper-rose-wow-embossing-powder.html)

Please click on the link to subscribe to my blog or follow along with my creative journey here

https://www.facebook.com/elisaablettdesigns

https://www.instagram.com/elisaablettdesigns/


IF YOU GET LOST!!

Here is the line up...


Thursday, 21 May 2020

Fierce & Free by Elisa Ablett for Paper Rose Studio


Hi everyone, 

My turn to share an inspiration project for Paper Rose Studio today and instead of a card or scrapbooking page I decided to head in a different direction this time, a mixed media art journal spread!

Featuring loads of Paper Rose Studio products including Doodle Flower Stamp Set and the awesome Mandala Stencil to name a few. 

Make sure you head over to the Paper Rose Community page on Facebook to keep up to date with all things Paper Rose Studio. 

Let's take a closer look at the project.


I started with a base of Modelling paste smoothed through the Paper Rose Mandala Stencil. 

Then adding colour with watercolour inks and blending colour through stencils to continue the layering process.

I fussy cut the fabric flower child from the quarter of fabric from Paper Rose Studio, adhered her to the page. 

On heavy weight white cardstock, add ink and acrylic paint to the cardstock and let dry. Then stamp the Doodle Flowers stamp set over the coloured cardstock. Then fussy cut your flowers out and glue around your fabric girl.

Add your finishing touches including stencilling and stamping and splatters of ink.

And your done!

Thanks for stopping by the blog today

Hugs

Elisa x


Tuesday, 10 March 2020

'You're a whole lotta lovely' by Elisa Ablett - Paper Rose Studio


Hi everyone, 

My turn to share inspiration for Paper Rose Studio today.

I love the beautiful Lovely Floral Blossom Flower Stamp Set it is definitely one of my fav's.  I created a water colour inspired card using Distress Inks and Colour Blast Bling Shimmer Spray.

The 'Inky Antics' paper pack layered underneath the Love Layered Die ties the watercolour theme in perfectly!

Products used from Paper Rose Studio:-

Love Layered Die, Lovely Floral Blossom Flower Stamp Set, Inky Antics Paper Pack, Texture 3 Metal Die

Other Products: - Colour Blast Bling Shimmer Spray, Distress Inks, Versafine Ink Pad


Thanks for stopping by the blog today,
 don't forget to head over to the Paper Rose Studio website to check out the gorgeous new releases.

Hugs

Elisa x


Friday, 21 February 2020

'Love' by Elisa Ablett - Paper Rose Studio Design Team


Hi Crafters, 

Elisa here from the Paper Rose Studio design team and today I am sharing my latest inspiration, a lovely scrapbooking layout featuring loads of Paper Rose Studio goodies.

Let's take a look at the full layout below!

I wanted to have a play with the Love Florals Blossom flowers stamp set this time around, I love the gorgeous blooms and sentiments with this set. I had the idea to play with the 'flexibility' of the stamps by bending the sentiment around a circle, so I could create a floral banner across my layout. It worked a treat, no stamps were harmed in the making of this layout lol.


I used my trusty Distress Oxide Inkpads in Lilac and Blueprint sketch to recreate the lovely navy and purple tones in my photo. Using a blending brush you are able to blend your colours through the stencil to create a ombre effect. 

Don't be afraid to combine your products and stretch the uses of your stamp set!


Paper Rose Studio products used: - Linked straight to product.


Thanks for stopping by the blog today,

Hugs 

Elisa x


Monday, 10 February 2020

Be Creative - Art Journal Page by Elisa Ablett


Paper Rose Studio - Design Team


Hi Crafty Friends,

My turn sharing inspiration as part of the Paper Rose Studio Design Team today. 

I created a colourful, somewhat abstract Art Journal page featuring loads of Paper Rose Studio products including their NEW Inky Antics paper pack.


Other Products - Shipping Tag, Baby Wipe, Black Cardstock, Washi Tape Stickers, Distress Oxide Ink Pads, Gold Foil, Black Thread, Butterfly Washi Tape, Black Embossing Powder. Versafine Embossing Ink Pad

To Create the Tag First - Stamp and Emboss in Black the Mandala Stamp, then using Distress Oxide Ink Pads in different colours - Smoosh ink onto your craft mat and dip your embossed image into it then flp over hit with the heat gun while spraying it with water. add gold foil leaf to the bottom using a cheap glue stick then brush excess off using a stiff brush after the glue has dried. Using a sewing machine attach a recycled baby wipe to the back of the tag on the right hand side. Glue to a piece of black cardstock. 

Glue your Inky Antics piece of printed paper to your art journal page, Stamp and ink around the edges. Add washi tape stickers or tape before you add your extra distress Oxide ink . Stamp and Emboss your sentiment using black embossing powder.


That's from me today,

Thanks for stopping by the blog.

Elisa 

xx


Tuesday, 21 January 2020

Ridiculously Awesome by Elisa Ablett - Paper Rose Studio


Hi crafters,

Elisa here with my first post as part of the Paper Rose Design Team. I am super excited to join this team with their versatile and innovative stamps, dies and paper packs. 

For my first project I created a grungy boy mixed media scrapbooking layout featuring loads of Paper Rose products which are listed below.

I also provide a quick run through of how I created the simple yet effective background and general 'white space' design.  By layering your stamping and dies you can create a background that looks 'lumpy and bumpy - full of depth and texture' but actually sits flat apart from your photo and dies. 

Let's take a look at the close ups!!


Products used : 
Black and White A5 Paper Set, Awesome Words stamp set, Awesome Layered Die, Texture 3 Die, Arty Love Arty Alphas stamp, Arty Love Mark Maker Stencil, Hud 6x6 Stencil

Other Products: House of Paper White Heavy Weight Cardstock, Black Cardstock, Distress Oxide Ink Pad, Versafine Black Ink Pad, Distress Blending Tool.

To create this design ...

To start the background, smoo
th Distress Ink through the  Paper Rose Hud Stencil to create your circles behind your photo. 

Smooth Versafine Black ink with a blending tool as above through the Arty Mark Maker stencil onto your background. 

Mat your photo which is 3 x 4 in white cardstock then again in Black and White stripes. 

Die Cut the Paper Rose Texture Die x 2 in black cardstock. 

Then Stamp and Die cut your title out using Awesome words and Die sets. 

Using Versafine Ink pad in black stamp randomly over and around your stencilled areas with Arty Love Alpha Stamp and Awesome Words Stamp set. 

Cut strips of black and white paper in stripes and the crosses paper and staple to your page. 

Using a thin black pen add scribbled lines around the stamping. 
Adhere all your elements to the page using glue and staples.

Use my main photo as a guide to where you stamp and stencil OR try a different design with your Paper Rose goodies. 

Thanks for stopping by today, 

Hugs 

Elisa x


Image may contain: 9 people, people smiling, eyeglasses


Image may contain: flower and plant, possible text that says '2020 PAPER ROSE DESIGN TEAM'


'Frosty' by Elisa Ablett

  Hi Crafters, Elisa here from the design team for Ink Art Designs with the first of my 'Christmas in July' projects. For this proje...