Showing posts with label Chipboard. Show all posts

Friday, 13 November 2020

WOW! Embossing Powder and Paper Rose Studio Blog Hop with Elisa Ablett


Hello Crafters and welcome to the WOW! Embossing Powder New Release giveaway Hop! 

My name is Elisa and I am here with you as part of the Paper Rose Studio design team.

We are all so excited to show case to you all our beautiful projects created with products from WOW! Embossing Powder and Paper Rose Studio including some new release goodies.

I decided to be a little different and create a grungy boy scrapbooking page and I went a little crazy with techniques using the Embossing Powder. So stay with me here and I will take you through 
HOW TO GET MORE OUT OF YOUR EMBOSSING POWDERS!


FIRST TECHNIQUE - Embossing Powder over black modelling paste through a stencil!

Use the sticking power of modelling paste or texture paste to use with your embossing powder through a stencil. I used the Hud Stencil from Paper Rose along with Black Puff WP02 (o) from WOW!


SECOND TECHNIQUE - Embossing Powder with Distress Oxides on Die Cuts

Die Cut cogs and other shapes from Paper Rose Metal Dies, colour with Distress Oxides and while they are wet sprinkle your Embossing Powder over the top and heat emboss immediately. You get a delicious grungy textured look to your die cuts. I used Paper Rose Cogs and Textured background dies along with WOW! Embossing Powder - One Hundred and One WL32UH (OM)


THIRD TECHNIQUE - Cover everythinnnnng with embossing powder! just kidding, I covered Chipboard, matt board, and enamel dots.

Use a liquid embossing liquid to cover large items and tricky ones like enamel dots and chipboard. I used One Hundred and One embossing powder again because the finish is just amazing!


FOURTH TECHNIQUE - Rusting Technique - Cover Die Cuts with Black Puff embossing powder and use Metallic Waxes to rust your die cuts 

Die Cut your cogs from Paper Rose Cog Dies, emboss with Black Puff Embossing Powder, once they have been heat embossed and have dried completely. Then using your finger or cotton bud rub different coloured waxes gently over your embossed die cuts, I used Red Amber, Fire Ruby and Copper.


ONE MORE TECHNIQUE - Use a ruler or straight edge palette knife and black modelling paste to create lines and then heat emboss directly onto your page!

Create the lines by adding modelling paste onto a craft messy mat and splicing your palette knife or steel ruler through the paste and tap onto your page to create grungy lines. Sprinkle your embossing powder over the top of the still wet modelling paste and heat emboss. 

Here are some close ups of the scrapbooking page: --


I appreciate that you chose to stop by! Please make sure you leave a comment on each hop for your chance to win one of our $25 Gift Card from both WOW! Embossing Powder and Paper Rose Studio shops by Wednesday November 18th, this is open INTERNATIONALLY!

The Winners will be chosen at random from the comments left on ALL THE BLOG POSTS.
To join this GIVEAWAY you must leave a comment on each blog post to have a chance at getting your hands on the prizes.
This hop is open internationally.

Thank you so much for joining the celebration today!


YOUR NEXT STOP IS WITH THE TALENTED MELISSA GOODMAN

and here is the link you have to follow!

(https://melsartjourney.blogspot.com/2020/11/paper-rose-wow-embossing-powder.html)

Please click on the link to subscribe to my blog or follow along with my creative journey here

https://www.facebook.com/elisaablettdesigns

https://www.instagram.com/elisaablettdesigns/


IF YOU GET LOST!!

Here is the line up...


Wednesday, 9 November 2016

To Come Alive - Art Journal page by Elisa Ablett

Hi Crafter's,

Elisa here from the Memory Maze Design Team again, just sharing a recent blog post on the Memory Maze blog. A colourful Art Journal page featuring some lovely Memory Maze Chipboard and a grunge stencil.

I wanted to achieve a different look with this Art Journal Page with the colour and texture only in the background whilst keeping the gorgeous Chipboard white, clean and simple.


To achieve this look i gesso'd the chipboard pieces white and laid them aside to dry. I have found a wonderful gesso in a spray can and is a life saver!!

I then tore strips from the Newspaper and included a title of To Come Alive which i pieced together from the Newspaper, I then gesso'd over the top of the newspaper to provide a bit of texture.

Then i used Colour Blast Shimmer Dusts and a splatter technique, splatter drips and drops of the gorgeous shimmer dusts which you have diluted with a small amount of water all over the areas in which your chipboard will sit.

I then splattered Bling Colourblast Shimmer Spray as well. I stamped several texture stamps and flower stamps over the top of the colour and then using a palette knife i spread Bling Colourblast Texture Paste over a Memory Maze Stencil.

Here are some close ups :-) 


Here are some of the gorgeous products i used from http://memorymaze.com/


Butterfly lady 8x8


Dots and stuff  poly template  8x8 sold in 3\'s

Colour Shimmer Dust - Peacock


Thanks for stopping by the Blog today :-) 


Elisa xx


Start each day with a Grateful Heart by Elisa Ablett

Hi Crafters,

Elisa here with a very bright layout i created for the Memory Maze Lasercuts blog featuring a gorgeous Memorymaze Chipboard and stencils.

I wanted to create a very vibrant ink and watercolour background to match the colours in my instagram photo. This layout features one of my favourite photos which is of myself on my regular early morning walk along our local beach with my girl, Lila. We have recently lost our beloved dog who was my regular walking companion. She loved walking the beach with me every morning greeting all who came along and happy to on the receiving end of loads of pats and cuddles. The title of my layout is 'Start each day with a grateful heart'.

To achieve the look - Gesso your chipboard piece and put aside.
Using watercolours and inks create your background and then stencil over the top in gorgeous Gold (Bling) Colour Blast Paste. Then Stencil over that with Shimmer Sprays using the Grunge stencil.

Add splats of watered down gesso and then using the 'ray' stencil trace the inside of the stencil from the middle of your layout. Add your extra embellishments once all dry.

I have added also a cool product which you can DIY colour, it is called Pink Paislee - Artisan Elements - Circles. You can customize each circle with your own colour!


Here are some close ups for you to see some of the finer details, from here you can see the gorgeous Daler Rowney Inks and Colour Blast Bling Texture Paste and Colour Blast Colour Shimmer Sprays which i used to create the vibrant background.


Here are some of the gorgeous products from Memory Maze that i used to complete this layout...

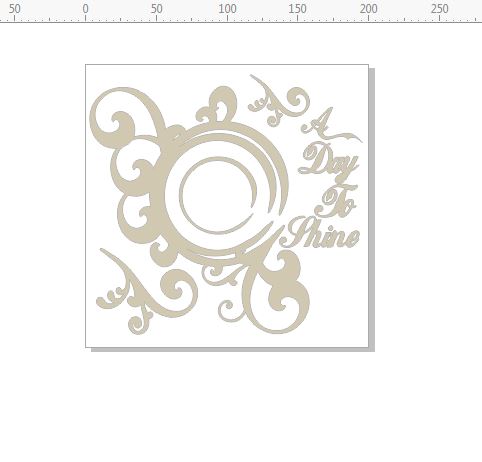
A day to shine circle flourish frame  200 x 200min buy 3 .


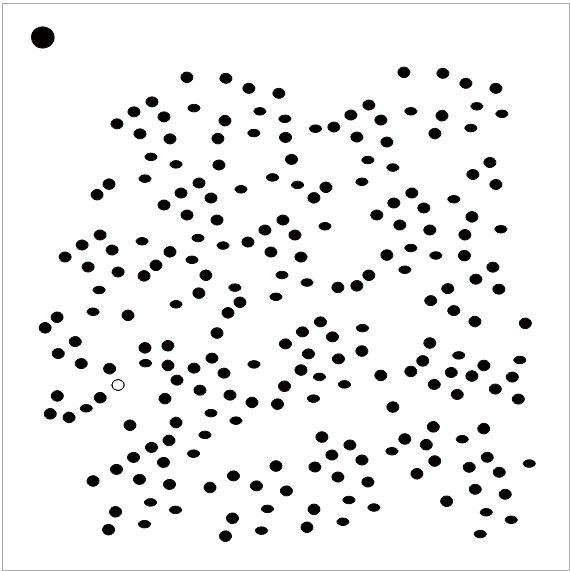
Mini Stencils  micro dots   100 x 100mm  min buy 5 priced as eac


Stencil Grunge 10

Stencil,mask or template J019 SPIDERLIKE   110X180   Min buy 3


Thanks for stopping by the Blog today :-) 

Elisa xx


'Frosty' by Elisa Ablett

  Hi Crafters, Elisa here from the design team for Ink Art Designs with the first of my 'Christmas in July' projects. For this proje...