Thursday 20 April 2017

'Happy' by Elisa Ablett

Hi everyone,

My turn up on the Shop and Crop blog today with a feminine mixed media layout featuring a gorgeous gold foiled vellum from Pink Fresh Studio from the Felicity Collection.

The background was created using the vibrant Colour Blast Shimmer Dusts in Lollipop and Lush and a smidgen of background stamping.

I used a cut file which i glued to my vellum and then i fussy cut around the cut file, because the vellum is slightly see -through it creates a pretty window effect.


Here are some close ups of the details - 


Tip - Use those old punches you have hanging around in a modern creative way!! 


Sneak Peek - My next blog post features a resist embossing technique with water colours, simple and effective technique.


Here are the products and links to the shop - 


Pink Fresh Studio Felicity Gold Foiled Confetti Vellum

Pink Fresh Studio Felicity Cardstock die cuts

Pink Fresh Studio Felicity Sequin studio puff stickers


Colour Shimmer Dust - Lollipop

Colour Shimmer Dust - Lush


Thanks for stopping by the blog today, make sure you leave me some love :-) 


Wednesday 12 April 2017

' My Sanity ' by Elisa Ablett

Hi everyone,

Just sharing a recent fun Art Journal page of mine that featured on the Artified Blog.

----------
My turn up on the Artified Blog with a fun and colourful (tongue in cheek) Art Journal page.

Featuring loads of awesome Artified goodies including Tim Holtz layering stencils, distress paints, prima watercolour confection pans and a gorgeous Stampotique unicorn stamp.


Here are just some of the wonderful products used to create my Art Journal page, follow on for the step by step tutorial.


Step 1 - Using Dina Wakely heavy body white paint paint/glue old book paper and medical gauze to your page to add texture and depth.


Step 2 - while you are waiting on your page to dry, stamp your unicorn onto smooth watercolour paper with archival ink and colour with your prima watercolours using a paint brush. Fussy cut your unicorn out. I also drew a couple of bears to ride the unicorn in keeping with my funny saying and coloured them as well. 


Step 3 - Add some more texture to your page with modelling paste and your Tim Holtz Layering stencils. 


Step 4 - Once your paste has dried, using the side of a ruler ( i added black indian ink to the side of the ruler) and spritz my page with water in the middle, then pressed my ruler to the page to create black lines 


Step 5 - Add some circles to your page using stamps, toilet rolls, plastic lids etc and ink, start colouring the larger circles with watercolours or distress paint. Then start colouring your page using distress paint and water colours spritzing with water when needed.


Step 6 - Add some visual interest by gluing some colourful strips of paper. and then using a baby wipe over the top of a stencil to take away colour from your page.

Another chance to add some stamping !


Step 7 - Last steps - Add a large grungy circle in the middle of your page with a ink nib pen and Indian ink so that your unicorn can sit inside it and you can add your quote around the circle. 


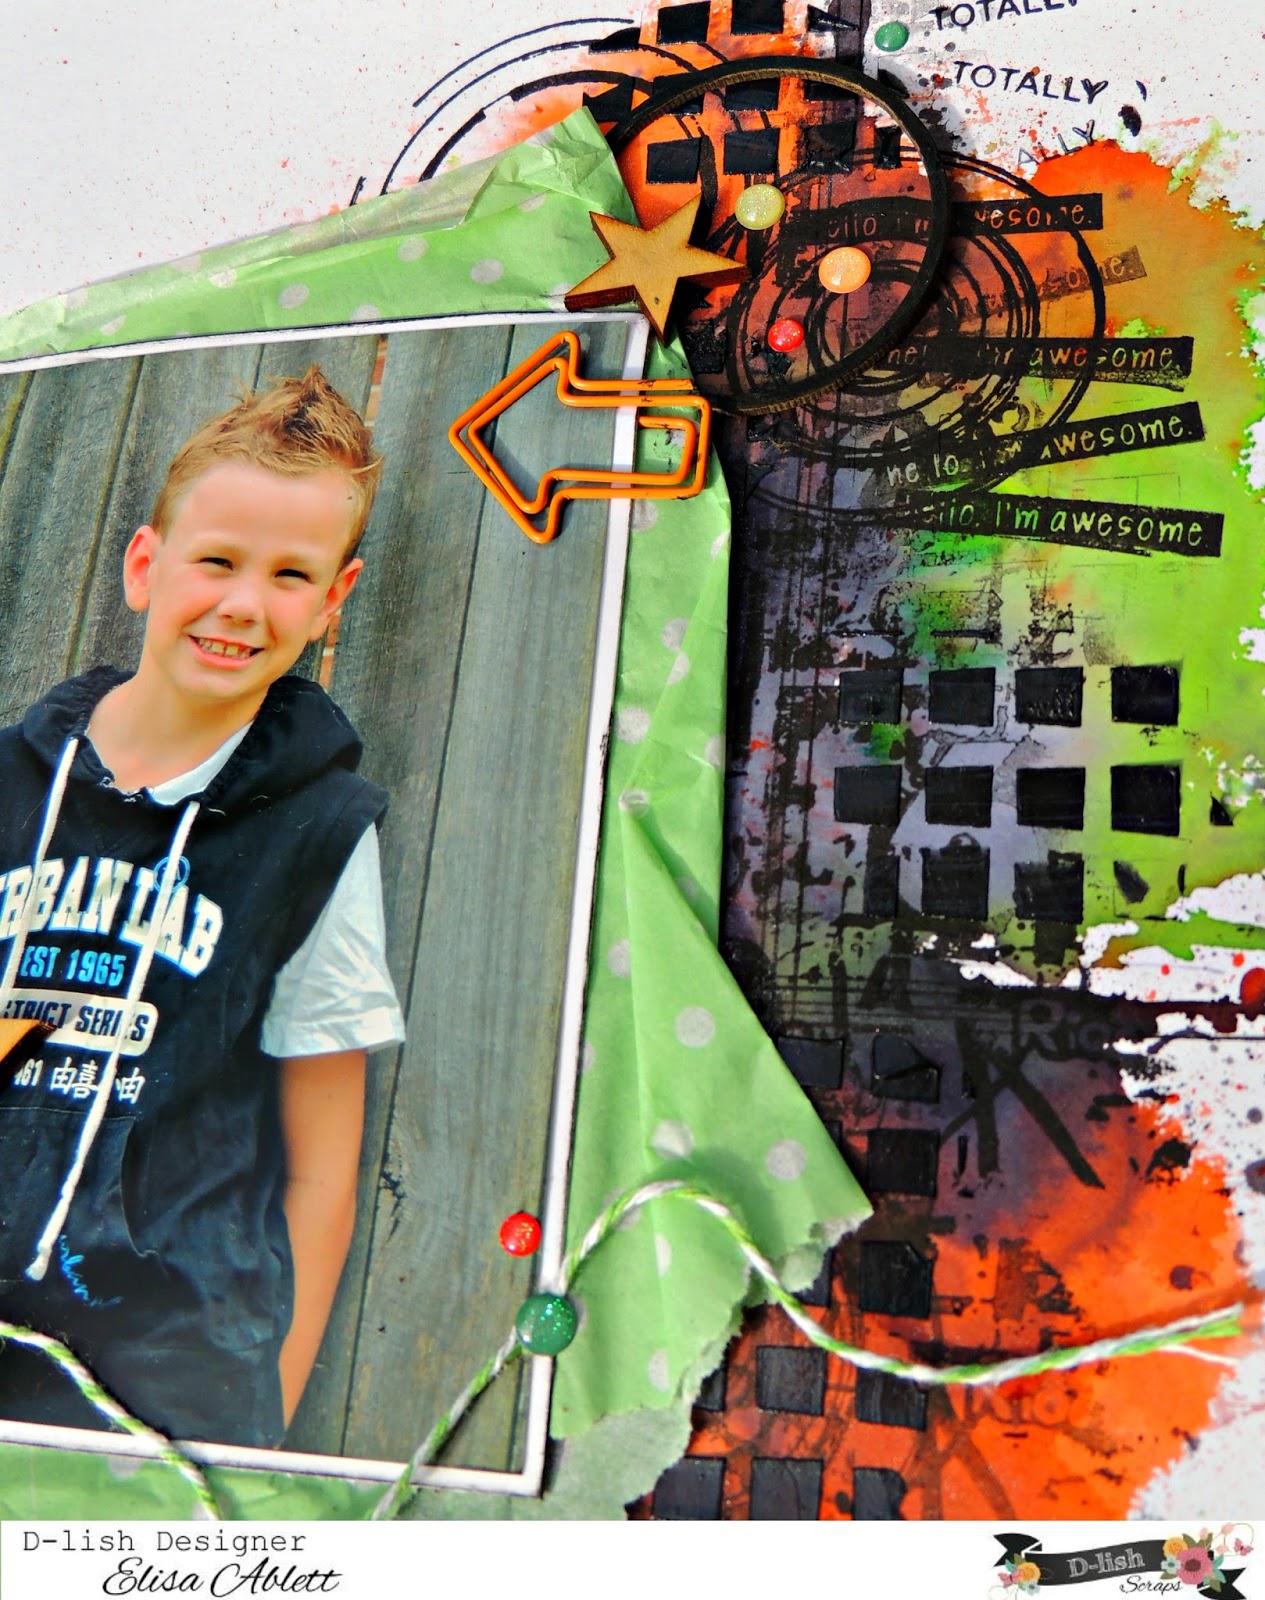
Here are some close ups !!


Here are some links to the products in the Artified Store:


Unicorn by Magda Polakow


Well that's it from me today!!

Hope you have enjoyed seeing my Art Journal come together :-) 


Elisa xx


'Super Star' by Elisa Ablett

Hi everyone, 

Just thought I'd share a recent blog post and mixed media boy layout that featured on the Memory Maze Blog recently.

.......

School holidays are here and if you have school aged children and a bit of time off over the holidays - it's crafting time :-) 

My turn up on the Memory Maze blog today with a boy mixed media layout using the awesome 'Totally Rad' paper collection from Cocoa Vanilla Studios and an equally awesome DIY star embellishment from Charms Creations. Check out the links below to the lovely list of products used from Memory Maze including my new favourites the chipboard stars - so versatile!

To create the star background, I used the Memory Maze mini Star stencil with Dusty Charcoal Colour Blast paste and splatters of Sunshine Colour Blast Shimmer Spray. 

I also coloured the chipboard in black versafine ink to go with my yellow, grey and black colour scheme. Little pops of yellow and gold stars, splatters and paper complete the layout!


Here are some close ups of the finished layout - 


Memory Maze products used to complete this project - 


\
Stars


Sunshine word sheet sold 3's


Mini Micro people


Mini Stencils 50 x 100mm stars min buy 5  priced individually

Thanks for stopping by the blog today, make sure you leave some love!

Elisa xx


'Love this Boy' Elisa Ablett

Hi everyone,

Just sharing my very first layout as part of the new design team over at D-lish Scraps!

I am so excited to be a part of this very talented and inspiring team and look forward to sharing my 'hybrid' mixed media/paper based creations with you all.

Now onto my first creation  - a grungy boy layout featuring loads of D-lish Scraps goodies.


To start my background I used Colour Blast Shimmer Dusts, stamping with black versafine ink with some grungy stamps and then using the D-lish Pattern Quartet Stencil and Colour Blast Dusty Charcoal Paste added some texture to the background.

I tucked a lovely spotted green tissue paper from a past Just Add Paper Kit behind my photo, I tore the edges and folded then to grunge it up a little.  A little tip is to check the Past Kits & Bits section on the website for those extra goodies to go on your layouts.

 se

For the cluster in the above close up, I used the following gorgeous D-lish goodies - Enamel Glitter Dotstwinekinder kreations basic circle chipboardorange Journal it tab , orange journal it minifetti and a gorgeous wood veneer title and stars from a past Just Add Paper Kit.

To add depth to the layout I inked the chipboard circles with black versafine ink and tucked them under the tissue paper. Then I twisted and curled the twine so it flowed nicely across my photo and under my title.


Let's take a look at the next cluster - Circle Chipboard and those 'oh so lovely' Enamel Glitter Dots and some strategically placed (kidding - it really just went everywhere) black splats and splashes of black dylusions spray.


Again some more of those lovely inked black chipboard circles and glitter enamel dots and a wood veneer star and wire arrow clip from a past Just Add Paper Kit.


Another quick look at the main embellishment cluster and last minute grungy stamping and we have finished!

Thanks so much for stopping by the blog today, make sure you leave some love and stay tuned for my next post later in the month 😀


'Boys Rule' By Elisa Ablett

Hi all !

Just sharing a recent layout of mine that featured on the Shop and Crop Blog.

Featuring loads of products from Shop and Crop including Colour Blast Colour Sprays, Colour Blast Texture Paste, Darkroom Door Arty Circles Collage Stamp and a cool Grungy Template from Kaisercraft, keep scrolling for all the handy links to the shop. 

Also I have included in this week's post a handy background tutorial for you to try.

If you are placing an online order don't forget to use the code EA5 to get your discount at the checkout!


Here are some close ups of the finished layout!


Technique and Product Showcase - 

To keep with my circular theme on my layout I wanted to show you how I created my grungy backgroun!

Step One - I used Colour Blast Colour Sprays in Carribean and Lagoon to lay down a small oval of colour in the top right hand corner where my photo would fit over and also a small area on the bottom left hand side of my layout where my corresponding cluster will go.

Step 2 - Using the circular template spray colour sprays directly onto the template instead of your page! then quickly turn it over and press firmly onto your layout, you are essentially using your template as a stamp. Mop up the excess spray from your craft mat with your chosen chipboard, i used a couple of grungy pieces from Memory Maze Chipboard.

Step 3 - once that has dried, spray and splatter a small amount of Roadbase colour spray onto the layout around your two areas of colour.

Step 4 - Ink up your darkroom door stamp with Black archival ink - i use versafine ink as it gives a lovely crisp stamping image. Stamp in a cross circular pattern around your colour area as shown in both photos.

Step 5 - once dry - using a small dots stencil add small amounts of Colour Blast Bling Paste to your layout over the top of your stamped image, once dry you are now ready to layer your photo and embellishments!


Product Showcase from 


Colour Blast Paste - Bling


Colour Sprays - Carribean

Colour Sprays - Roadbase


Collage Stamp - Arty Circles


Kaisercraft-12x12 Designer Template Grunge


Thats it from me today, hope you enjoyed the mini tutorial and product showcase!

Elisa xx

'Frosty' by Elisa Ablett

  Hi Crafters, Elisa here from the design team for Ink Art Designs with the first of my 'Christmas in July' projects. For this proje...