Friday, 18 November 2016

Sunshine by Elisa Ablett

Hi Crafters,

Elisa here from the Design Team for Shop and Crop Scrapbooking with my latest share, a beach inspired layout using the versatile, vibrant Studio Glazes by Tsukineko (link to Glazes in shop) and Colour Blast Australia Shimmer Sprays and Pastes.

If you place an order online with Shop and Crop Scrapbooking at https://www.shopandcrop.com.au/ don't forget to place your discount code EA5 in the spot provided upon checkout!! 

Here is my finished layout - 


I have included a few photos to show you how I started my mixed Media Background and how I used the Glazes on Acetate to make my stained glass circles. 

Firstly, I grabbed my trusty Colour Blast Shimmer Spray in Tangareen Dream and Colour Blast Colour Sprays in Mocha and Carribean. Take the lids off and splatter each colour onto your page by gently tapping the plastic tube where you want your colour to go. I decided to keep mine on the right side of the page and leave some white space on the left. Put aside to dry. Once dry I used a black marker and a wave stencil (use the marker to trace around the waves in the stencil) to add some neat black waves to my design. Then add some Colour Blast Texture Paste in Bling with a dots stencil in the areas that you are going to put your acetate stained glass circles.


So to start I wanted to show you what the Tsukineko  Stazon Studio Glazes look like on paper and acetate but they can also be used on other surfaces including beads, acrylic, glass, metal, wood and other non-porous surfaces. You can use stencils with them and they have a handy pen like feel to them so you can lovely thin lines with them, perfect for creating faux stain glass effect.

Drying times can be lengthy if applying a thick layer, so either use thin layers and a light heat with a heat gun from a distance or you'll have to wait it out...

Shake the bottle before each use and I also gave it a little squeeze to get rid of air bubbles before squirting onto my page. It is not food safe or dishwasher safe so a wipe over with paper towel is all you need if completing ceramic or home decor projects...it is also not waterproof so you may need to seal outdoor projects to protect against exposure.
  

To create the circles i used on my layout, I used two pieces of acetate, i then squirted my chosen colours onto one side and then put the second piece over the top and then you can just smooth and rub over with your hand or use a brayer (lightly). Pull your acetate pieces apart and you get great patterns and texture on your acetate. Dry thoroughly.

Once dry using either circle punches, or circle dies or even just circular objects from around the house (trace around and fussy cut circles out) cut circles out of your acetate in a variety of sizes. Below is a photo of the acetate held up to the light you can see the 'stained glass effect' I just added a little glue to the back of the circles and glued them to my layout.


Here are some close ups of the layout for the finer details and the shine !


Lots of lovely colours in the range of the Studio Glazes at the Shop, head on over and have a look!!

Thank you for stopping today.

Elisa xx

Tuesday, 15 November 2016

Altered Gift Boxes by Elisa Ablett

Hi Crafters, 

Just stopping by to share a project I completed for Funky Flairs Design Team recently. 

I was given a couple of necklaces from a friend and they came in these gorgeous little kraft gift boxes, perfect for me to upcycle and renovate them.

Flexing a little mixed media muscle and this is what I came up with...


Both using gorgeous flair and embellies from Funky Flair Studios http://funkyflairstudio.com/ and also chipboard from Memory Maze Lasercuts.

Thanks for stopping by the blog today..

Make sure you leave some love.

Elisa xx

Sunday, 13 November 2016

Spring is in the Air - By Elisa Ablett

Hi Crafters,

Elisa here from the Design Team for Shop and Crop Scrapbooking with a fresh Spring inspired layout featuring the 'Felicity' range of  Pinkfresh Studio papers and matching embellishments from  Shop and Crop Scrapbooking also a gorgeous stamp from Penny Black, a Kaisercraft Mandala Stencil and Colour Blast Colour Sprays.

A reminder - don't forget that when you place an order at Shop and Crop Scrapbooking you can use the code EA5 to receive a $5 discount on any of your orders.

Here is the layout i created, showing that you can still use paper in mixed media inspired layouts and vice versa mixed media products with your paper collections on layouts.


Tip: to achieve the half mandala on your page using the Kaisercraft stencil, lay the stencil on your page, cover half of the stencil with the plastic packaging as shown in the photo and spray your first colour spray ( i used Saffron from Colour Blast), let it dry for a while BUT not completely. Then spray using your second colour ( i used Rainforest from Colour Blast) but only on the seam in the middle of Mandala stencil. This will achieve the water colour effect. Once finished wipe your packaging down ready for reuse.


Once the Sprays have dried i splattered a orange colour (Tangareen Dream from Colour Blast Shimmer Spray collection) in several places. I also used a paintbrush and unscrewed the lids from the Colour Sprays to add a little colour to my stamped images.

The stamp i used is from Penny Black Stamps and is called - Softly 40-319 and can be ordered in by Shop and Crop if you love it!! 

Here are some close ups of the beautiful matching die cuts from the Felicity range.


The birds on a wire chipboard piece is from Memory Maze Lasercuts and can be ordered in by Shop and Crop if you like it!! I coloured mine with black archival ink.

Here a few of the products that i used from the Shop and Crop products to complete the page.


Pink Fresh Studio Felicity Confetti Garden

Pink Fresh Studio Felicity Cardstock die cuts


Kaisercraft 12x12 Designer Template Mandala


Well that's it from me today. 

I hope you are inspired to try a hybrid paper/mixed media layout! 

Don't forget to use the code EA5 to get your discount on any orders at Shop and Crop.


Wednesday, 9 November 2016

Live Your Dreams - Art Journal Page by Elisa Ablett

Hi Crafter's

Elisa here from the Design Team for Memory Maze Lasercuts,  I am just stopping by to share my next creation with you that featured on the Memory Maze blog last month, a very colourful Art Journal page using some gorgeous Memory Maze Stencils and Chipboard frame and of course some (ok lol maybe lots) of Colour Blast mixed media products.

This Art Journal page started off as a practice page in my Art Journal for the new Tim Holtz Distress Markers and then i  re-purposed the page by adding layer upon layer of Memory Maze stencils and Colour Blast until i had a very vibrant page with depth and texture.


After I added the Colour Blast Shimmer Dusts in Candy, Navy, Lush, Grape and Sunflower (add a small bit of the Dusts and add water) to the right side of the page, i used a circle stencil from Memory Maze with a white sharpie pen on the left side of the page. 

Next step was to add Colour Blast Mica Powder to Prima Crackle Texture paste and spread through a mini bubble stencil from Memory Maze with a palette knife.

I also used a white sharpie paint pen to trace around a love heart stencil on top of the watered down Colour Blast Shimmer Dust on the right hand side.

Also spread white texture paste through a chevron stencil with a palette knife and sprinkle the paste while it is wet with Colour Blast Embossing powder and heat with a gun til it bubbles...


With your chipboard frame, colour it with white gesso or a white paint sharpie pen and then add a small amount of Colour Blast Shimmer Dusts to the frame with a paint brush and water. Flick watered down white acrylic paint over the page.


Here are some of the Memory Maze products that i used!!

Stencil,mask or template J001 ALL CIRCLES  110X180   Min buy 3


Oblong Mini frame ornate app 100 x 85


Stencil Grunge 8


Thanks for stopping by the blog today, make sure you head on over to Memory Maze Shop via the link above and check out all the amazing designs.

Make sure you leave some love...

Thanks

Elisa xx


Shine - By Elisa Ablett

Hi Crafters,

Elisa here from the design team for Colour Blast Australia with a mixed media layout I created featuring Midnight Colour Shimmer Dust, Leather Colour Shimmer Spray and Apple of my Eye Colour Paste to name a few!

I wanted to share this tutorial on my personal blog as well to show you a few more mixed media background techniques.

All the Colour Blast products can be found here in the Colour Blast Shop.

I wanted to share with you an interesting technique i thought of using the Shimmer Dust to create a grungy linear background.


To start the layout, I matched the photo (which was an unusual colour) with the different shades of Colour Blast, I ended up adding Leather and Apple of my Eye to the layout as well to achieve the closest match to the photo.


Next step grab a black waterproof pen and a ruler and draw lines as shown below across your page.


Add water to your Midnight Colour Shimmer Dust in an Artist's palette and grab a paintbrush with a nice fine tip. Spray water using a water spray bottle onto your lines and then using a ruler and a nice wet paintbrush (with your activated dust) draw over the top of the lines letting the colour bleed with the water on the page. Wipe the ruler after each pass over the page.


Now while your background dries lets move onto your feathers, spray each feather with a light coat of a combination of Colour Shimmer Sprays and then dry thoroughly. Once the feathers are dry using a sepia toned ink pad and a stamp stamp over the bottom of your feathers like the below photo.


Once the stamping has dried, using a paint brush, screw the lid off your Roadbase Colour Spray and paint the top of your feather and the very bottom tips.


 Next step! while the feathers are drying you can go back to your background and add Colour Shimmer Sprays in LeatherSteel and Apple of My Eye. Also add splatters of each colour in the centre of your layout just above the top and bottom line. Once dry, using some word and texture stamps stamp in both black and sepia colours onto your background.


I also added some circle stamps in black ink and then using a white gel pen, trace around the circles in various places around your layout. 

Once dry, using a palette knife scrap Leather and Apple of My Eye Colour Paste across your chosen stencil on either side of where your photo will sit.


Time to assemble your layout once the Paste has dried. Add some netting under your photo and using 3D mounting tape mount your photo into the middle of your layout. Add your title to the photo and stick it all down.

Time for some close ups of the feathers, stone and shells. Wrap natural twine around the base of feathers and attach twine to your page crossing it over in the middle. Tie your feathers to the stone (which i found on a beach, it had a handy hole already in it) adding your charm. Then glue your shells onto your page at the end.


And here is your finished layout! 


That's it from me today, hope you have enjoyed the tutorial, make sure you leave some love in the comments below!!

Elisa xx


To Come Alive - Art Journal page by Elisa Ablett

Hi Crafter's,

Elisa here from the Memory Maze Design Team again, just sharing a recent blog post on the Memory Maze blog. A colourful Art Journal page featuring some lovely Memory Maze Chipboard and a grunge stencil.

I wanted to achieve a different look with this Art Journal Page with the colour and texture only in the background whilst keeping the gorgeous Chipboard white, clean and simple.


To achieve this look i gesso'd the chipboard pieces white and laid them aside to dry. I have found a wonderful gesso in a spray can and is a life saver!!

I then tore strips from the Newspaper and included a title of To Come Alive which i pieced together from the Newspaper, I then gesso'd over the top of the newspaper to provide a bit of texture.

Then i used Colour Blast Shimmer Dusts and a splatter technique, splatter drips and drops of the gorgeous shimmer dusts which you have diluted with a small amount of water all over the areas in which your chipboard will sit.

I then splattered Bling Colourblast Shimmer Spray as well. I stamped several texture stamps and flower stamps over the top of the colour and then using a palette knife i spread Bling Colourblast Texture Paste over a Memory Maze Stencil.

Here are some close ups :-) 


Here are some of the gorgeous products i used from http://memorymaze.com/


Butterfly lady 8x8


Dots and stuff  poly template  8x8 sold in 3\'s

Colour Shimmer Dust - Peacock


Thanks for stopping by the Blog today :-) 


Elisa xx


Start each day with a Grateful Heart by Elisa Ablett

Hi Crafters,

Elisa here with a very bright layout i created for the Memory Maze Lasercuts blog featuring a gorgeous Memorymaze Chipboard and stencils.

I wanted to create a very vibrant ink and watercolour background to match the colours in my instagram photo. This layout features one of my favourite photos which is of myself on my regular early morning walk along our local beach with my girl, Lila. We have recently lost our beloved dog who was my regular walking companion. She loved walking the beach with me every morning greeting all who came along and happy to on the receiving end of loads of pats and cuddles. The title of my layout is 'Start each day with a grateful heart'.

To achieve the look - Gesso your chipboard piece and put aside.
Using watercolours and inks create your background and then stencil over the top in gorgeous Gold (Bling) Colour Blast Paste. Then Stencil over that with Shimmer Sprays using the Grunge stencil.

Add splats of watered down gesso and then using the 'ray' stencil trace the inside of the stencil from the middle of your layout. Add your extra embellishments once all dry.

I have added also a cool product which you can DIY colour, it is called Pink Paislee - Artisan Elements - Circles. You can customize each circle with your own colour!


Here are some close ups for you to see some of the finer details, from here you can see the gorgeous Daler Rowney Inks and Colour Blast Bling Texture Paste and Colour Blast Colour Shimmer Sprays which i used to create the vibrant background.


Here are some of the gorgeous products from Memory Maze that i used to complete this layout...

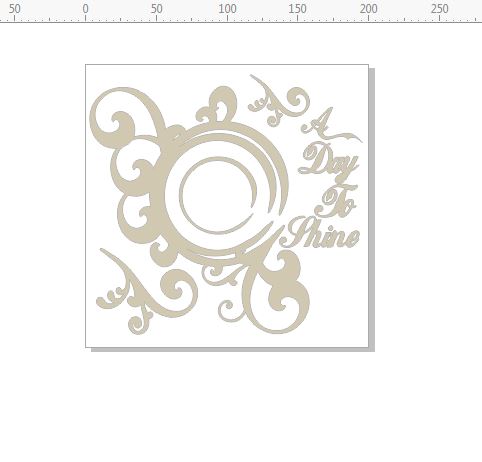
A day to shine circle flourish frame  200 x 200min buy 3 .


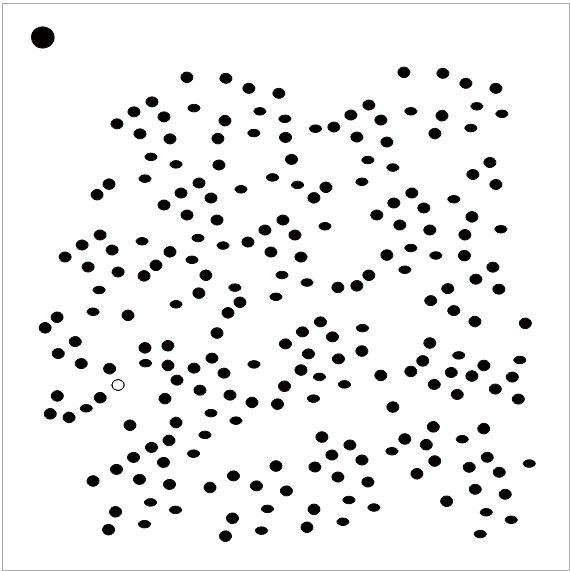
Mini Stencils  micro dots   100 x 100mm  min buy 5 priced as eac


Stencil Grunge 10

Stencil,mask or template J019 SPIDERLIKE   110X180   Min buy 3


Thanks for stopping by the Blog today :-) 

Elisa xx


'Frosty' by Elisa Ablett

  Hi Crafters, Elisa here from the design team for Ink Art Designs with the first of my 'Christmas in July' projects. For this proje...