Showing posts with label stampotique stamps. Show all posts

Wednesday, 13 January 2021

Art journal page - Ink Art Designs


Happy New Year everyone, 

My first post of the year for Ink Art Designs as part of the creative team after a good break over the Christmas and New Year period.

I am sharing with you an art journal page that I created with loads of awesome Ink Art Designs products, make sure you check out the list below with links to the shop.

The snarky quote relates to the 'three skeletal mates' who have seemed to have gotten themselves trapped in a spider web.

I have a love of making snarky art journal pages lately, it is a great way to use your humour as a bit of  therapy!

Let's have a look through the products used:

' 3 in a round ' Stampotique Originals

'Lovely Wings' Stampotique Originals

dina-wakley-paint

distress-oxides

tim-holtz-snarky-small-talk-stickers/

The big spider web stamp is one I had laying around in my stash, it is from Scrap FX Australia.

I happened to use one of the new Tim Holtz colours - Crackling Campfire in the Oxide range and found the lovely deep orange and yellow/black colour scheme perfect for a 'dark humourous' art journal page.

A couple of challenges for you, try the colour combination out and/or an art journal page with a bit of dark humour.


Thanks for stopping by the blog today, make sure you head over to the Ink Art designs store and check out all the new products and the facebook group for loads of inspiration. 

Elisa 


Monday, 5 October 2020

'Crazy About You' Card for Ink Art Designs


Hi Crafters, 

Elisa here with my latest inspiration for Ink Art Designs, a cute card featuring the Smitten Moustache Monsters from Stampotique.

Ink Art Designs, an Australian stockist, has a huge range (growing by the day) of the quirky great quality stamps that we know and love from Stampotique.

I decided to pair the Moustache Monsters with a great stencil from Flutterby Designs (another great Australian company) called 'Dapper Dan'. I coloured the stamped images with Distress Oxide Ink Pads by smooshing the ink onto a craft mat and spritzing with water and using a small round paintbrush. 

I added little details with Life of Colour paint pens. 


Here are some of the products used from the Ink Art Designs Shop:


Mustache Stencil - Dapper Dan from Flutterby Designs


Distress Oxides - Spiced Marmalade, Evergreen Bough, Peeled Paint
Life of Colour - Red Paint Pen
Archival Inkpad - Shadow Grey

Thanks for stopping by the blog today, make sure you leave some love in the comments.

Hugs 

Elisa x

Saturday, 13 October 2018

'Happy Halloween' By Elisa Ablett - October Inspiration

πŸ’€πŸ’€πŸ’€πŸ’€πŸ’€πŸ’€πŸ’€

Hi Crafters,

Elisa here from the design team for 2Crafty Chipboard with my latest mixed media layout with a Halloween twist!

With Halloween Night fast approaching I thought it would be fun to scrap one of the many photos I have of one of my boys in dressup, ready to go trick or treating with his scary mask and cape.

I have a few creepy ghoulish stamps from Stampotique and wanted to incorporate them as well.


Let's take a look at the 2Crafty products used in this layout πŸ‘»


http://2crafty.com.au/craft_chipboard/skeleton-unit-p-1551.html

Here are some close ups!


I also wanted to show you how I created the base of my background, here is a short step by step to show you how to incorporate your Gel Plate and paints into your layout - 


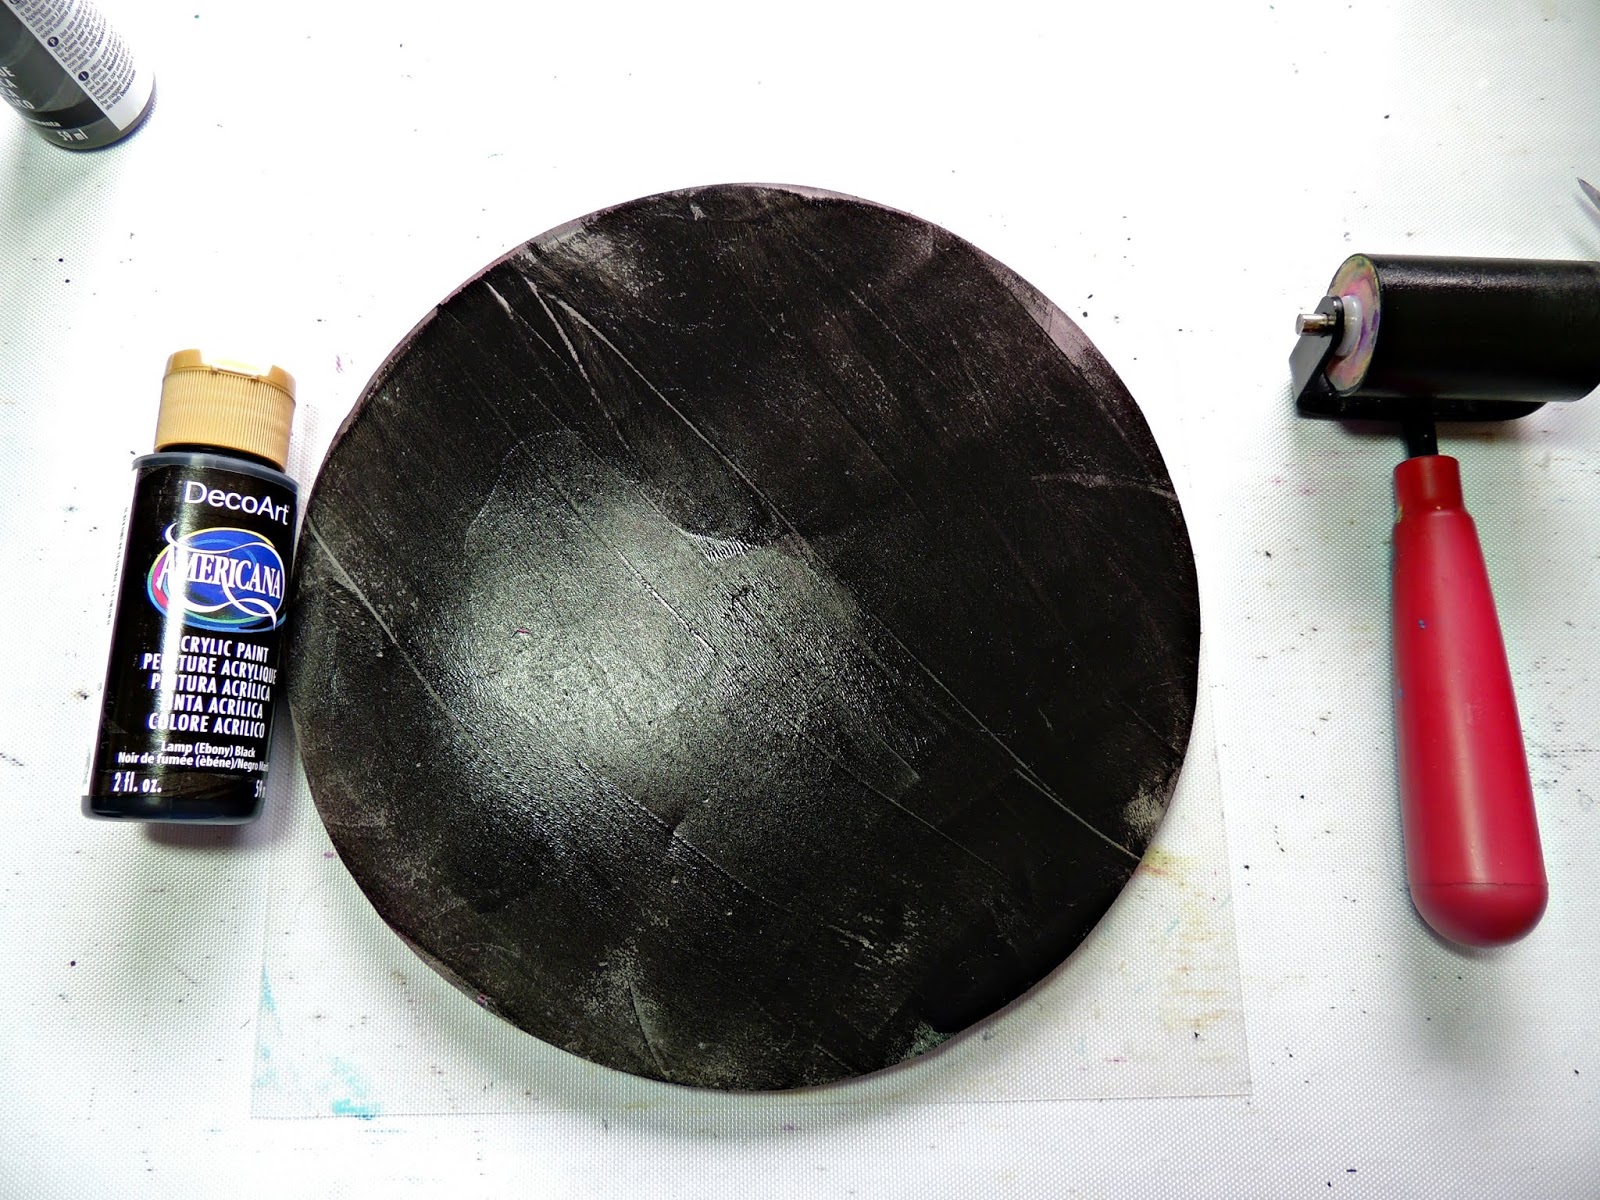
I used an 8 x 8 gel plate with some lovely good quality black paint from Decoart, using a brayer gently spread the paint onto the gel plate, I wanted to leave the lines and texture in the paint.


While the black paint was wet, I squeezed some grey paint onto the plate and spread with the brayer in patches only. Add a few splats of white paint here as well and brayer, you should have 3 different tones on your gel plate before you pull a print.


Once dry (here in this photo you can see the different tones and texture when it has dried) using a circle template, a dinner plate or a bowl etc, roughly trace around your print with a black permanent pen.


Grab some of your favourite grunge stamps and stamp around your circle.


Stamp onto white tissue paper or deli paper with your ghoul stamps from Stampotique, once the ink has dried fussy cut around the edges of your stamped images. 


I used a clear drying glue stick to glue my tissue paper down onto my page. Paint your chipboard. With the larger stamped images I stuck my 2Crafty chipboard circles around each stamped image and stapled them.

There are a few more finishing touches including paint splatters and stamping which can be seen in the main photo :-) 


That's it from me today, I hope you have been inspired to try a little Halloween for your next project featuring 2Crafty.

Hugs

Elisa xx

Here are my social media links if you want to follow along with me :-) 


'Frosty' by Elisa Ablett

  Hi Crafters, Elisa here from the design team for Ink Art Designs with the first of my 'Christmas in July' projects. For this proje...