Saturday 29 February 2020

'Wild and Free' by Elisa Ablett - Ink Art Designs


Hi stampers,

My turn to share a project for Ink Art Designs today.

I created a card using Kraft Cardstock as my base and featuring Rubber Dance Stamps and Colour Blast Artist Inks. This design can also be an art journal page as well.

I love the look of the Kraft Cardstock with bright colours, it seems to make them pop even more!

Let's take a closer look.  I used the bright and vibrant Artist Inks from Colour Blast (now under the umbrella of BeeArty) The inks are water based so perfect for creating beautiful watercolour backgrounds for stamping over. I also embossed my Butterfly Trio with black embossing powder.

I made a whole heap of tie dyed tissue paper with the inks a while back for some mixed media classes, so I cut a small piece to use under my die for the background of the card. Tissue paper can sometimes be hard to adhere to your cardstock without creating wrinkles or lines BUT the best way is to just use an ordinary everyday cheap gluestick! It works a treat. Smooth with your hands or a palette knife gently over the top and the finish is perfect.


Here are some of the products used from the Ink Art Designs Store:- 


Other Products used: - 
Load image into Gallery viewer, Colour Artist Ink

Load image into Gallery viewer, Colour Artist Ink

Load image into Gallery viewer, Colour Artist Ink


Kraft Cardstock
Couture Creations Die
Black Embossing Powder

That's it from me today, 
thanks for stopping by my blog

Hugs Elisa x


Sunday 23 February 2020

Collector of Memories by Elisa Ablett - Scrap FX Design Team


Hi Scrap FX Fans,

Elisa here from the design team with my latest inspiration for you, a colourful steampunk art journal page.

As soon as I saw the Steampunk Bee I knew I wanted to create an art journal page and I am a fan of colour, so I merged the two together!

The background is made from a recycled baby wipe and stencilling and the large circles are made with Colour Blast Colour Paste.

I love the colours of the Finnabair Metallique Waxes and they go perfectly over the top of chipboard.
Take a look at the close ups!


Products used from the Scrap FX Store:-

Steampunk Bee SMALLLetter & Number Rings stamps

Steampunk Stencil

Line Marking stamp

Clock Hands - Modern 10cm


Thanks for stopping by the blog today,

Hugs 
Elisa x

Friday 21 February 2020

'The best is yet to come' by Elisa Ablett for Bee Arty and Colour Blast


Hi Crafters,

Elisa here with my latest blog post for Bee Arty and Colour Blast.

Today I have a scrapbooking layout for you featuring the new and awesome paper collection by Tanya Froud and loads of other products from the Bee Arty Colour Blast mixed media range.

Here is the full layout, mostly monochromatic with big splashes of 'Citrus' Colour Artist Ink, yellow, grey and black and white is one of my favourite colour combinations.


To create depth to my layout, I stamped 'New Dawn' and 'Geo Grunge' stamps from the 365 collection onto white tissue paper and roughly tore around the edges. I then used a simple glue stick to add layers to my background.

I also used the Heavy Black Gesso through the "Interwoven' Stencil to create the rays which sit on the top half of the layout.  

Products used from Bee Arty:- 


Here are a few more close ups, you can see I added the Citrus ink to my background on the stamped butterfly to coordinate with my layout. The ink is perfect to colour white tissue paper!


Well that's it from me today!

Thank you for stopping by the blog, make sure you stop by the store to have a look at the great new collections and pick up a subscription while you are there!

Hugs 

Elisa x


'Love' by Elisa Ablett - Paper Rose Studio Design Team


Hi Crafters, 

Elisa here from the Paper Rose Studio design team and today I am sharing my latest inspiration, a lovely scrapbooking layout featuring loads of Paper Rose Studio goodies.

Let's take a look at the full layout below!

I wanted to have a play with the Love Florals Blossom flowers stamp set this time around, I love the gorgeous blooms and sentiments with this set. I had the idea to play with the 'flexibility' of the stamps by bending the sentiment around a circle, so I could create a floral banner across my layout. It worked a treat, no stamps were harmed in the making of this layout lol.


I used my trusty Distress Oxide Inkpads in Lilac and Blueprint sketch to recreate the lovely navy and purple tones in my photo. Using a blending brush you are able to blend your colours through the stencil to create a ombre effect. 

Don't be afraid to combine your products and stretch the uses of your stamp set!


Paper Rose Studio products used: - Linked straight to product.


Thanks for stopping by the blog today,

Hugs 

Elisa x


Wednesday 19 February 2020

A little bit broken - Art Journal page by Elisa Ablett


Hi stamp friends, 

My turn up on the Ink Art Designs blog and page today with my latest inspiration for you. 

Today I am sharing with you an art journal page created with the gorgeous Visible Image Stamps and Stencils which are available for purchase from the Ink Art Designs Store. 

I loved the little jigsaw puzzle piece stamp that is in the 'Don't Judge' stamp set. To create a grungy feel to the page I used Distress inkpads on white heavy weight cardstock, then stamped a few of the 'Organics' stamps over the top. I also stamped the jigsaw piece over the top and fussy cut the pieces out. 

I wanted a grungy, dark and blue background to resonant with the sentiment stamps I used. 


Thanks for stopping by the blog today, make sure you leave some love for me!

Hugs 

Elisa x


Tuesday 11 February 2020

That's a horrible idea by Elisa Ablett


Hi Stamp lovers!

My turn up on the Viva Las VegaStamps blog today with my latest inspiration for you, a fun Artist Trading Card or ATC featuring loads of Viva Las VegaStamps.

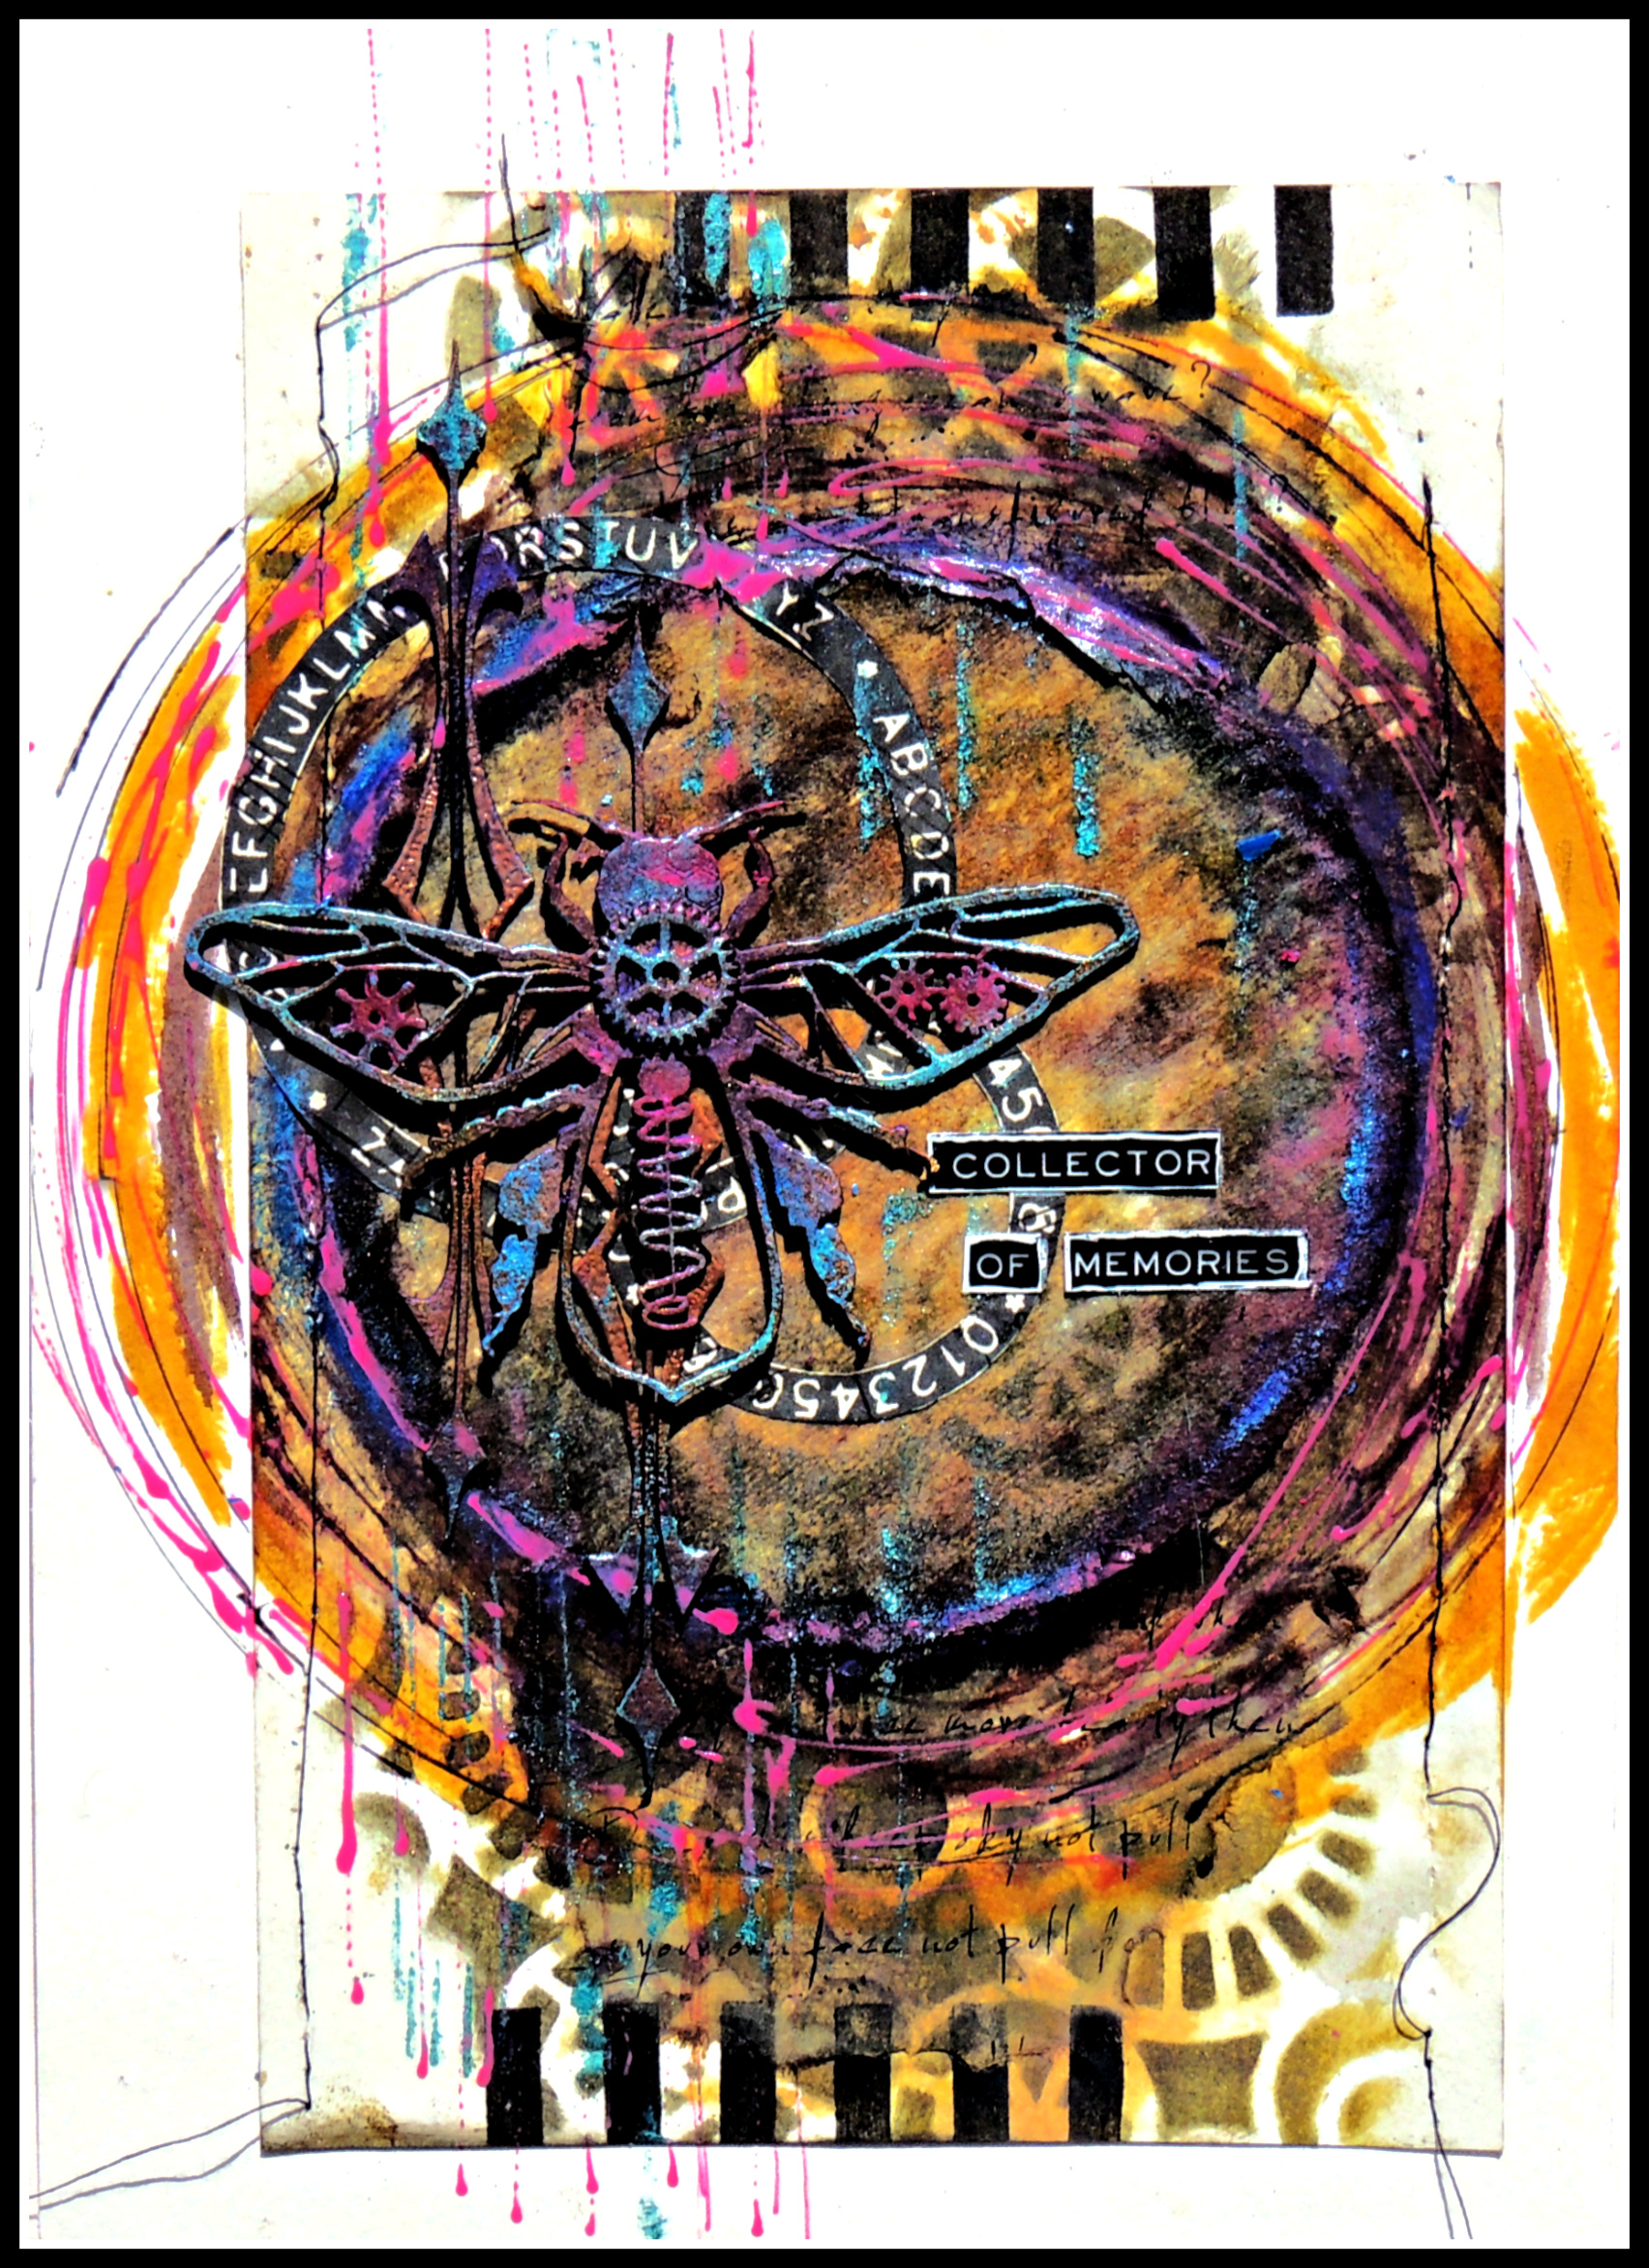
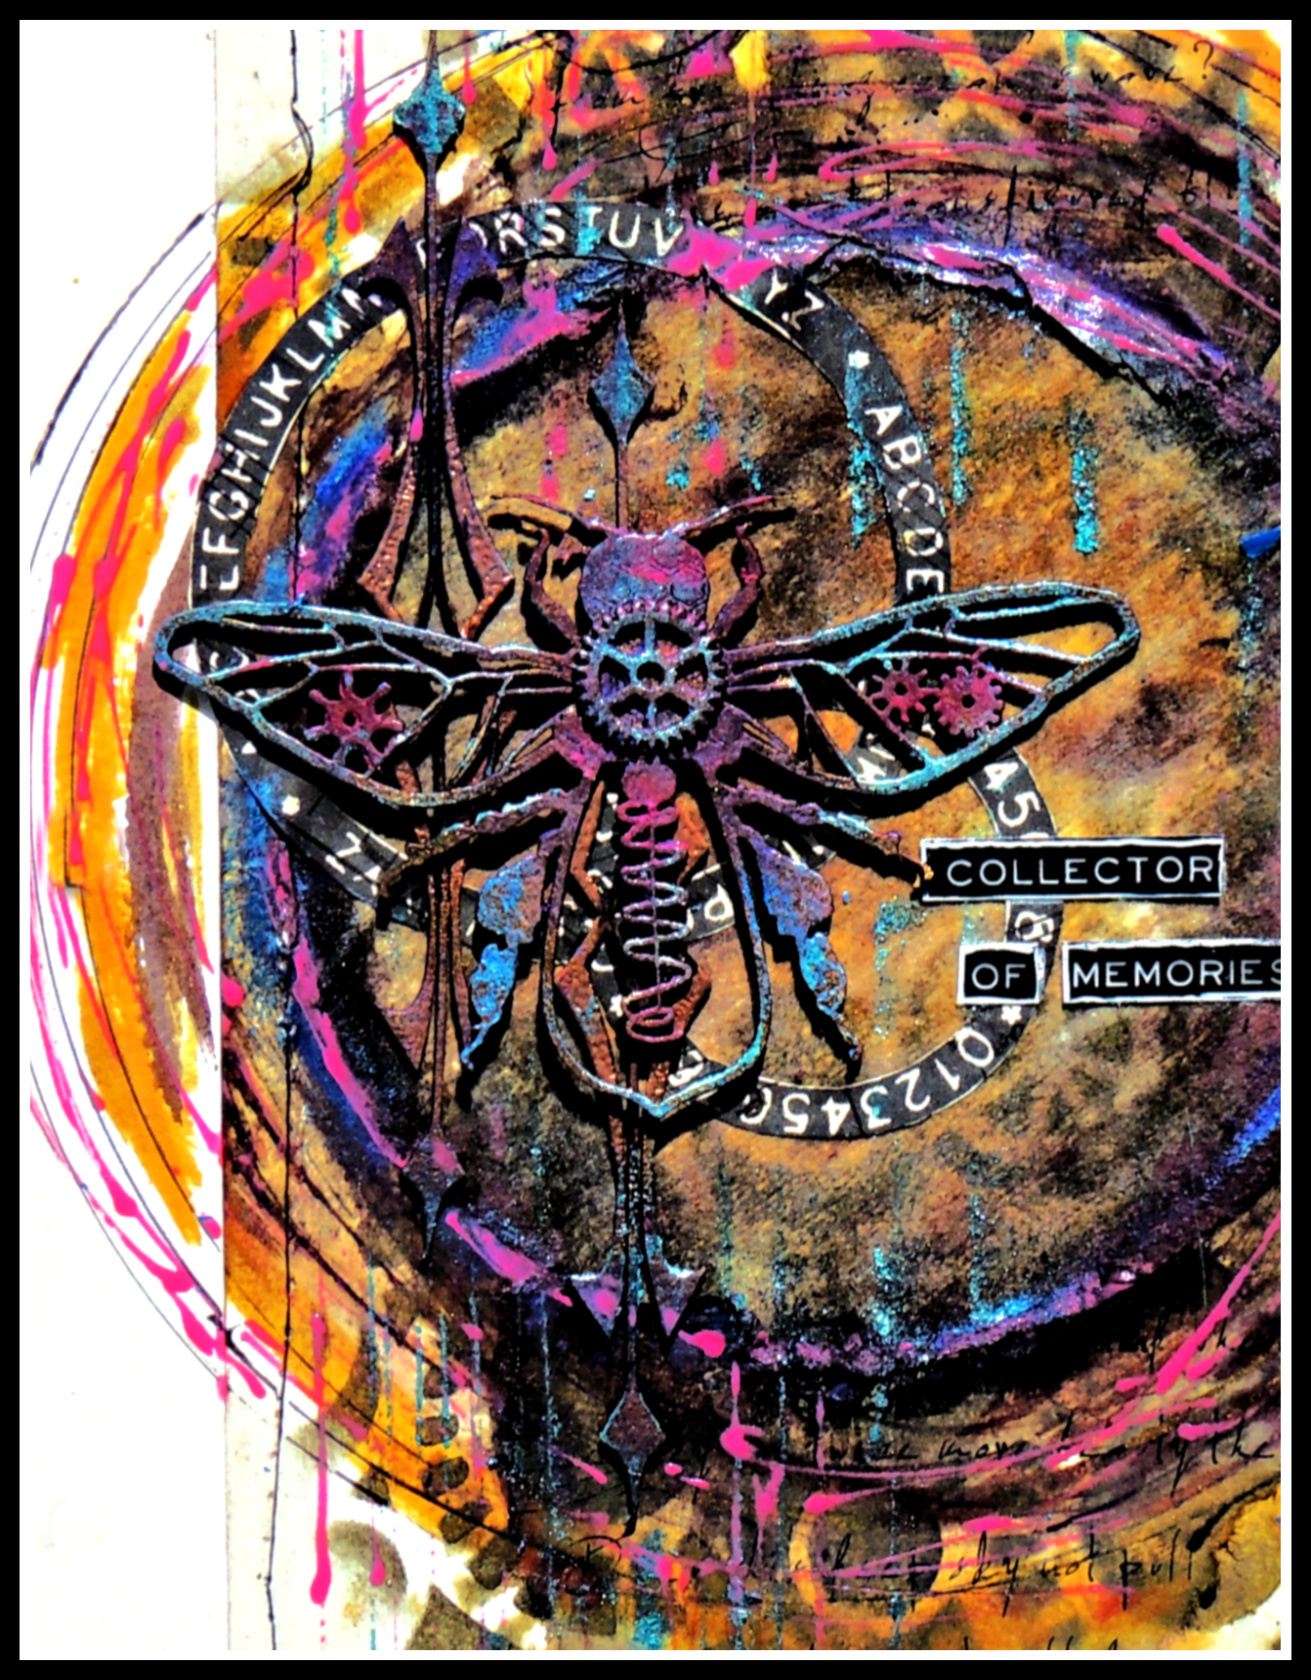
I just love Bicycle Man stamp, so many possibilities for a fun and snarky card or art journal page.

And that sentiment...well that's me all over. 

Here are some close ups of the ATC and I have included a step by step for you as well to see how it came together!


Viva Las VegaStamps products:


Other products:

AB Studio paper collection, Sepia and Black Versafine ink pads, Uniquely Creative Cityscape Die Cut, Polaroid Die cut, Distress Oxide Inkpads, Distress Ink pads, Decoart Extreme Sheen Paint, Cream Cardstock.

STEP BY STEP:-


Grab your selection of Viva Las VegaStamps, for this project I have included a list above with direct links to the website for VLVS. Stamp your sentiment and Bicycle Man stamp onto cream heavy weight cardstock using Sepia archival ink. Fussy cut your images out and using watercolours and Distress Oxide inkpads and a paint brush, add colour to your stamped images.


Next step is to cut two pieces of cream cardstock around 4 x 6 inch in size and another piece of patterned card to fit on one of the background cardstock with a small border showing. The second piece of cardstock is to use to cut your dies...The cityscape and Polaroid dies.


Add some splatters of distress oxide ink to your background and also around the edges. Colour your city scape die cut as well as a few pieces of ephemera including tickets and music paper. I like to add colour by scraping my inkpad over a craft messy mat and spritz the ink with water until it beads. then I dip my paper and tap it in the colour on the messy mat and dry with a heat gun.


Paint your polaroid die cut in a lovely bronze paint and then once dry, stamp your crackle background over the top of the painted die cut. You can also heat emboss it with black embossing powder at this stage here as well for that extra texture.


Using Aged Mahogany stamp pad, stamp your Nesting Gears Stamp over the bottom half of your ATC, you can see that i have run my ATC through my sewing machine roughly around the edges as well. 


On another piece of spare cream cardstock, using the swipe and smoosh technique for distress oxide ink pads as discussed in the steps above, add a bit of colour to the cardstock, let it dry or heat to dry. Then once dry, stamp using the mixed media edge stamp above using black versafine ink. Then fussy cut it out.


Add some stitching to your tickets and cluster on the left hand side of your ATC and glue to your background.


Start your layering, adhere your cityscape over the tickets then using 3D mounting tape or squares, adhere your polaroid frame over the top as shown above. Then glue your fussy cut Bicycle Man stamped image to the bottom right hand side. 


I decided to re-stamp my quote onto a patterned background and I also added more colour to the quote before adhering to my ATC.


Glue your sentiment onto your ATC and using a black fine tip marker, trace around the edges to make it stand out a bit. 

And you are finished!!

Thanks for stopping by the blog today, make sure you leave some love!

Elisa x


'Frosty' by Elisa Ablett

  Hi Crafters, Elisa here from the design team for Ink Art Designs with the first of my 'Christmas in July' projects. For this proje...