Showing posts with label Darkroom Door Stamps. Show all posts

Friday, 17 January 2020

Out of Chaos comes Creativity - Art Journal Page by Elisa Ablett


Hi Crafters,

Happy New Year from me, 2020 is going to be a huge year!

How many of you made resolutions or goals for this year ?

Most of mine are crafty goals, creating in my art journal more, trying new techniques and seeing my crafty friends more. 

To start the year for Ink Art Designs, I created an abstract mixed media art journal page using Visible Image Stamps and Stencils with a bright watercolour ink background and the use of white space.

To add extra interest in the background I also used a few of these old washi tape stickers I had laying around in my stash. 

Products used from Ink Art Designs:

If they are not in stock at the time of the blog post, 
just pop a message into Dot who can order them in for you !


 Rubber Stamp Set - Grunge Marks


Other Products used include:

Colour Blast Colour Artist Inks
Versafine Ink - Black
Distress Tool
Hessian Thread

Let's take a closer look at the details :-) 


With such a busy background, to make the main focus stand out a bit more (the large flower) I left a small white border when I fussy cut the flower out. 


To keep the flower theme going, stamp the smaller flowers in the back ground, keep the receding away into the distance if that makes sense? Add colour to the centre of the small flowers.


Adding a bit of abstract grunge to the page by stencilling, stamping and drawing thin black lines and scribbly writing. Another tip is to stamp using the lid from your ink pad to add a frame underneath your large focal point. 

and the finished product!


That's it from me today, thanks for stopping by the blog, make sure you say hi in the comments !

And don't forget to visit the https://www.facebook.com/groups/InkArtDesigns/ Stamping Playground group on Facebook. Enter a card or project in the monthly challenge for your chance to win!

Hugs

Elisa 


Wednesday, 6 November 2019

We are all out of bubblegum - Art Journal Page by Elisa Ablett


Hi stamp lovers!

Elisa here again with my latest project for Ink Art Designs, a mixed media 'cheeky penguin' art journal page!

My youngest son is in love with penguins, having completed many a school project on them and also seeing them at wildlife parks. We also love the penguins in the movie Madagascar and when I saw this stamp I knew I had to have it in my collection.  So many cheeky quotes and sayings come to mind lol.

When I positioned the penguins on my page, I wanted them to look like they were staring at the reader to sense the 'impending violence' from the penguins after their gum had run out. I think the gel printed circle in the background works well with highlighting them.

Let's take a look at the products used to complete this page.


Image result for darkroom door grunge marks


Other products used:

Paper Artsy Paints
Circle Gel Plate
Black Soot Watercolour Ink - Colour Blast
Versafine Ink - Black
Fine Black Marker
Circle Template


To start my page, I used a 4 inch circle gel plate and Paper Artsy paints to create my sunset.
Smooth a small amount of yellow, orange and deep red over your gel plate with a small brayer until the edges of each colour have blended. Then lay a stencil down over the top and brayer a small amount of white paint through. Then lay your paper down and smooth over the top with your hands to get your print. Once dry fussy cut the circle out and using circle templates and a black marker, make grungy circles over your sunset.


Stamp and colour your penguins, then once dry fussy cut them out and put them aside until you are ready to adhere to the page. 

My next step is to glue my sunset down onto my page, then go around the circle with black ink and spritz with water. Dry the black ink and now you can add your grungy stamping and stencilling. 

I added some black grungy lines to make a 'horizon' and drew a cityscape free hand in the back ground to make it look like they are standing in front of a city.


Add some scribbly writing, more grungy stamping and your title and lastly your penguins!

Your art journal page is complete.

Don't forget to stop by the Ink Art Designs Facebook page https://www.facebook.com/groups/InkArtDesigns/ to join in the monthly 'pretty much anything goes' challenge. 

Thanks for stopping by my blog today x

Hugs 

Elisa 


Saturday, 13 October 2018

'Happy Halloween' By Elisa Ablett - October Inspiration

πŸ’€πŸ’€πŸ’€πŸ’€πŸ’€πŸ’€πŸ’€

Hi Crafters,

Elisa here from the design team for 2Crafty Chipboard with my latest mixed media layout with a Halloween twist!

With Halloween Night fast approaching I thought it would be fun to scrap one of the many photos I have of one of my boys in dressup, ready to go trick or treating with his scary mask and cape.

I have a few creepy ghoulish stamps from Stampotique and wanted to incorporate them as well.


Let's take a look at the 2Crafty products used in this layout πŸ‘»


http://2crafty.com.au/craft_chipboard/skeleton-unit-p-1551.html

Here are some close ups!


I also wanted to show you how I created the base of my background, here is a short step by step to show you how to incorporate your Gel Plate and paints into your layout - 


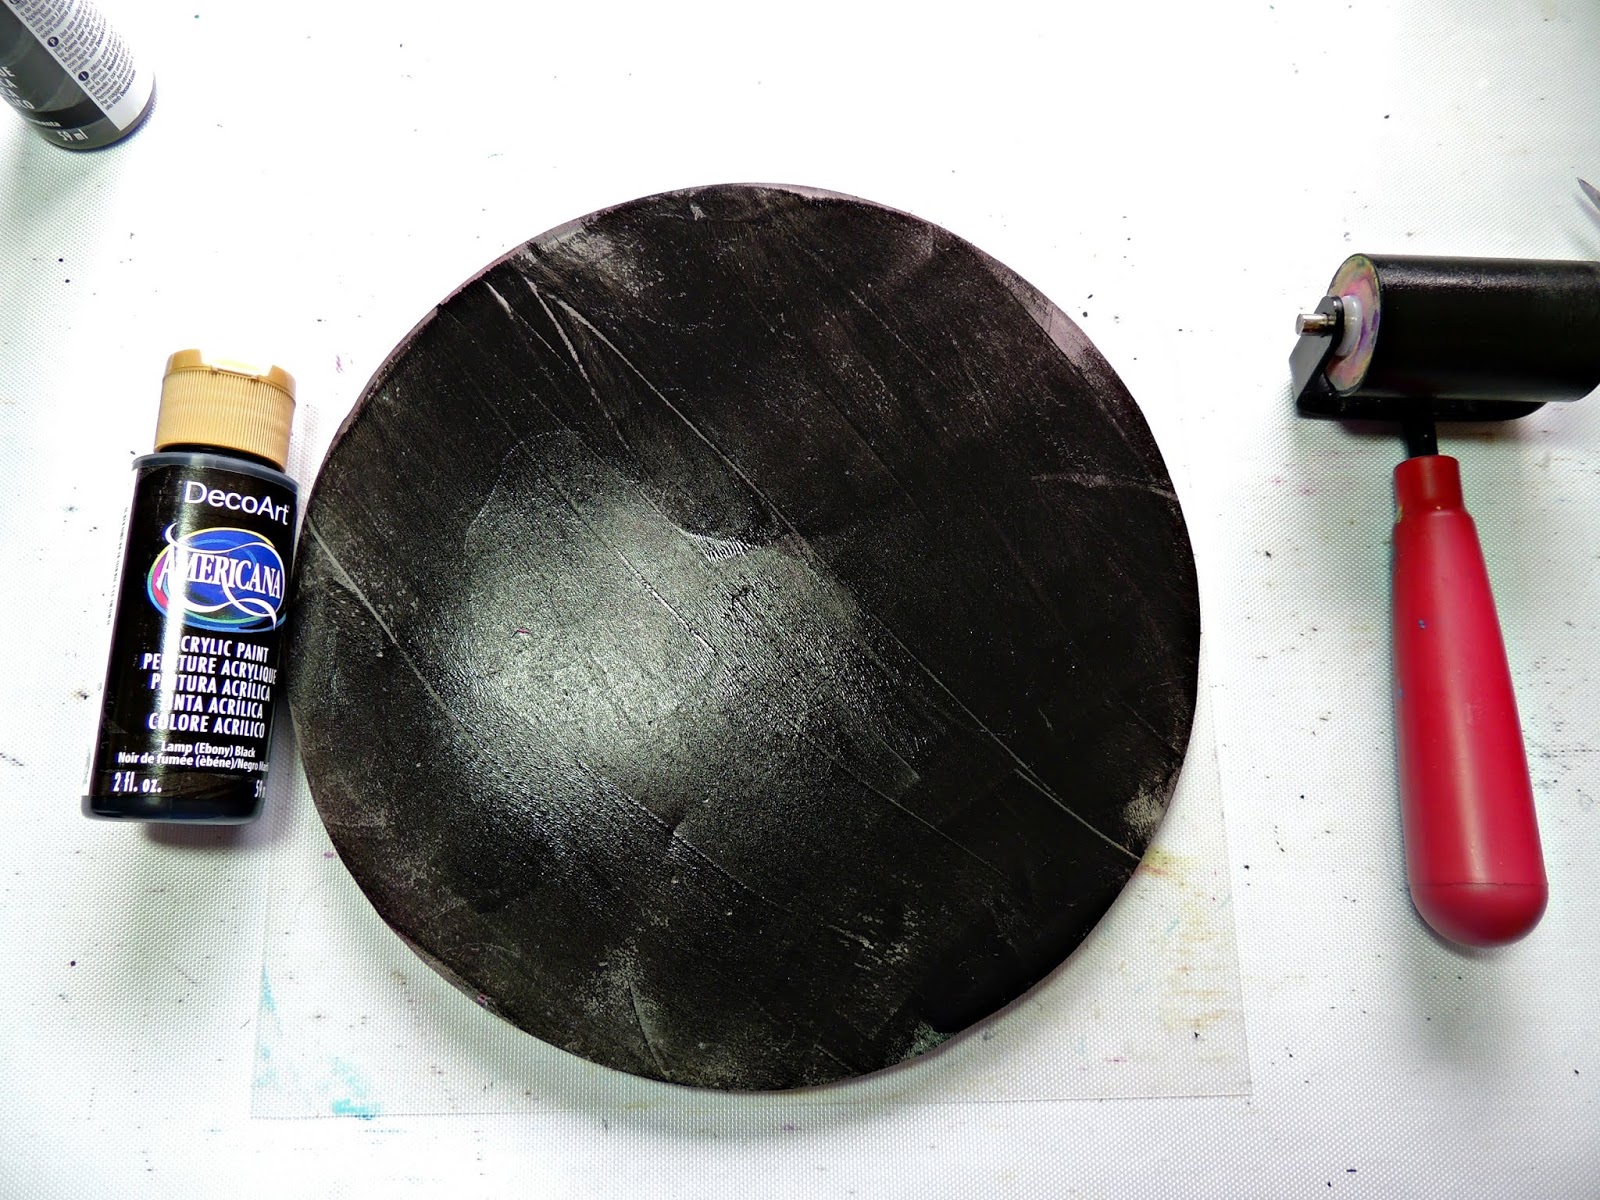
I used an 8 x 8 gel plate with some lovely good quality black paint from Decoart, using a brayer gently spread the paint onto the gel plate, I wanted to leave the lines and texture in the paint.


While the black paint was wet, I squeezed some grey paint onto the plate and spread with the brayer in patches only. Add a few splats of white paint here as well and brayer, you should have 3 different tones on your gel plate before you pull a print.


Once dry (here in this photo you can see the different tones and texture when it has dried) using a circle template, a dinner plate or a bowl etc, roughly trace around your print with a black permanent pen.


Grab some of your favourite grunge stamps and stamp around your circle.


Stamp onto white tissue paper or deli paper with your ghoul stamps from Stampotique, once the ink has dried fussy cut around the edges of your stamped images. 


I used a clear drying glue stick to glue my tissue paper down onto my page. Paint your chipboard. With the larger stamped images I stuck my 2Crafty chipboard circles around each stamped image and stapled them.

There are a few more finishing touches including paint splatters and stamping which can be seen in the main photo :-) 


That's it from me today, I hope you have been inspired to try a little Halloween for your next project featuring 2Crafty.

Hugs

Elisa xx

Here are my social media links if you want to follow along with me :-) 


Wednesday, 12 April 2017

'Boys Rule' By Elisa Ablett

Hi all !

Just sharing a recent layout of mine that featured on the Shop and Crop Blog.

Featuring loads of products from Shop and Crop including Colour Blast Colour Sprays, Colour Blast Texture Paste, Darkroom Door Arty Circles Collage Stamp and a cool Grungy Template from Kaisercraft, keep scrolling for all the handy links to the shop. 

Also I have included in this week's post a handy background tutorial for you to try.

If you are placing an online order don't forget to use the code EA5 to get your discount at the checkout!


Here are some close ups of the finished layout!


Technique and Product Showcase - 

To keep with my circular theme on my layout I wanted to show you how I created my grungy backgroun!

Step One - I used Colour Blast Colour Sprays in Carribean and Lagoon to lay down a small oval of colour in the top right hand corner where my photo would fit over and also a small area on the bottom left hand side of my layout where my corresponding cluster will go.

Step 2 - Using the circular template spray colour sprays directly onto the template instead of your page! then quickly turn it over and press firmly onto your layout, you are essentially using your template as a stamp. Mop up the excess spray from your craft mat with your chosen chipboard, i used a couple of grungy pieces from Memory Maze Chipboard.

Step 3 - once that has dried, spray and splatter a small amount of Roadbase colour spray onto the layout around your two areas of colour.

Step 4 - Ink up your darkroom door stamp with Black archival ink - i use versafine ink as it gives a lovely crisp stamping image. Stamp in a cross circular pattern around your colour area as shown in both photos.

Step 5 - once dry - using a small dots stencil add small amounts of Colour Blast Bling Paste to your layout over the top of your stamped image, once dry you are now ready to layer your photo and embellishments!


Product Showcase from 


Colour Blast Paste - Bling


Colour Sprays - Carribean

Colour Sprays - Roadbase


Collage Stamp - Arty Circles


Kaisercraft-12x12 Designer Template Grunge


Thats it from me today, hope you enjoyed the mini tutorial and product showcase!

Elisa xx

'Frosty' by Elisa Ablett

  Hi Crafters, Elisa here from the design team for Ink Art Designs with the first of my 'Christmas in July' projects. For this proje...